Redesigning a Dining Room

June 25, 2020

Redesigning a Dining room

A few months ago, I had a client that reached out to me and wanted to redo her dining room. This was a client that I had done previous designs for in her home. In fact, I just finished designing her kitchen.

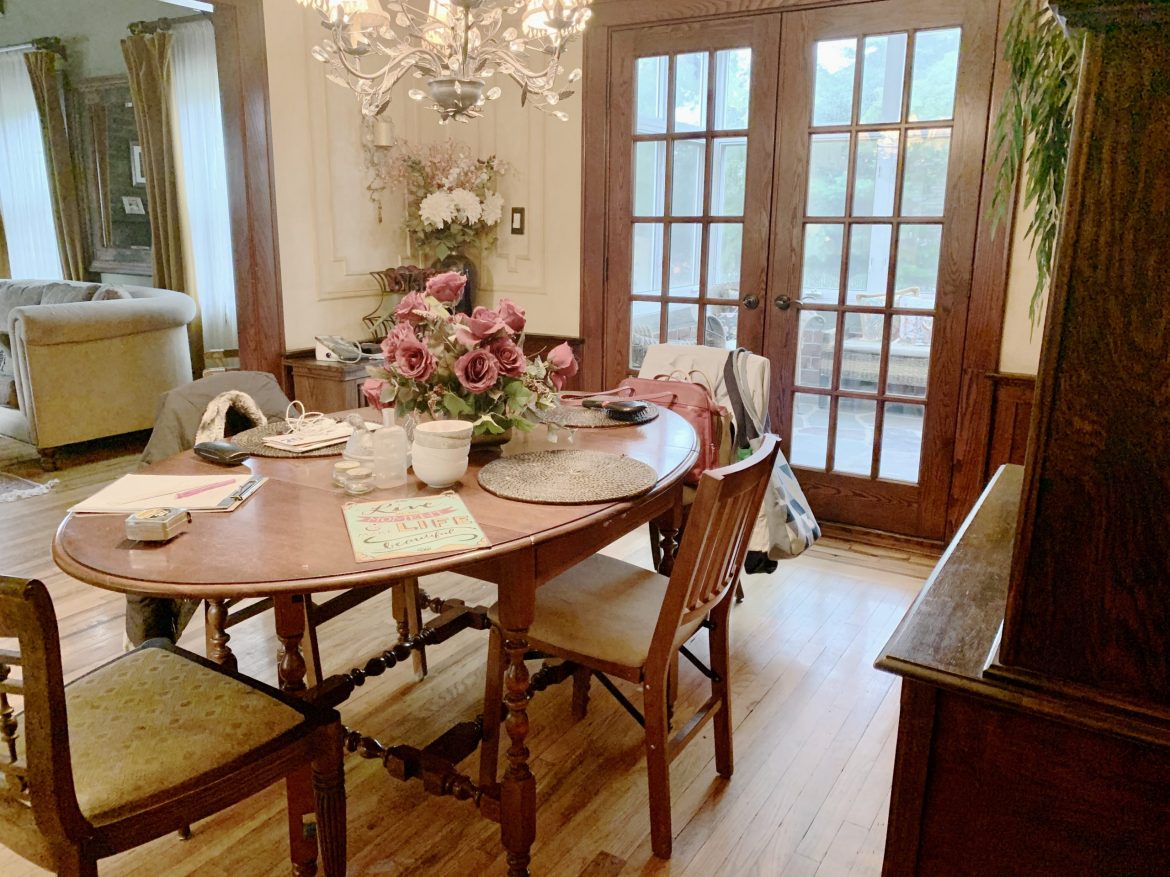
As you can tell from the pictures, it needed an update!! We talked about what she wanted in her new dining room. What style she liked and what pieces she wanted to keep. She decided she only wants to keep her hutch. We decided to paint it to give it a more updated look.

I set up a Pinterest board so she can pin some of her favorite pictures of dining room she liked. This gives me a good idea of her style.

Once that was done. It was time to shop!!

Here are the before pictures:


This is the hutch she wanted to keep and we decided to paint.

As you can see from the pictures, it needed to be updated. Once the shopping for the new dining room was done and the items delivered, I set up a date and time to come in and finish the space by accessorizing it.

Here are the after pictures:


What a huge difference. My client was thrilled with the results. Do you have a room you need help designing? Then reach out to me, and let’s get started.
#AbellaHomeStaging


Simple solutions equal great design

June 11, 2020

Simple solutions equal great design!

You don’t need to spend a lot of money; you just have to get creative. Many times clients are on a budget (who isn’t these days!). But that doesn’t mean you have to sacrifice design. There are many ways to spruce up your home, whether you’re selling or redesigning.

Here are some tips that you implant.

1. Fancy feet – you can update a look on an armchair or sofa by merely changing out the feet. Most just screw on so you can easily replace them with your choice of decorative feet. Just make sure your new feet don’t go higher than 1″ of the original feet.

2. Decorative lampshade – there are many ways to “dress up” your lampshades. Cut decorative paper to fit the inside of the shade. It looks great when the lights are off, better when they are turned on. Add embellishment (ribbons, beads, use hot a glue gun) from the scrapbook aisles. Or use reusable wallpaper. Word of advice using the wallpaper will diffuse the light so, plan accordingly.

3. Stairs riser – step up the visual interest on your risers by using wallpaper or custom painting them. Just make sure you pick a print that will work when you cut it down to the size you need.

4. Kitchen and bathroom tiles – if you have plain tiles or even Formica and want to spruce it up without breaking the budget, use peel and stick tiles. Easier to do than removing the old tiles. You simply peel off the backing and position on tiles. Then let it dry/cure for 24 hrs. These stickers withstand moisture, heat, and plenty of splashes.

5. Dog crates – my personal favorite. Do you have a dog crate that is an eyesore? Then consider buying a decorative dog crate instead.

As you can see here, just a bit of imagination and creativity, anything is possible!!

Images Via Pinterest
#AbellaHomeStaging


What do you do with a glass door?

May 14, 2020

What do you do with a glass door?

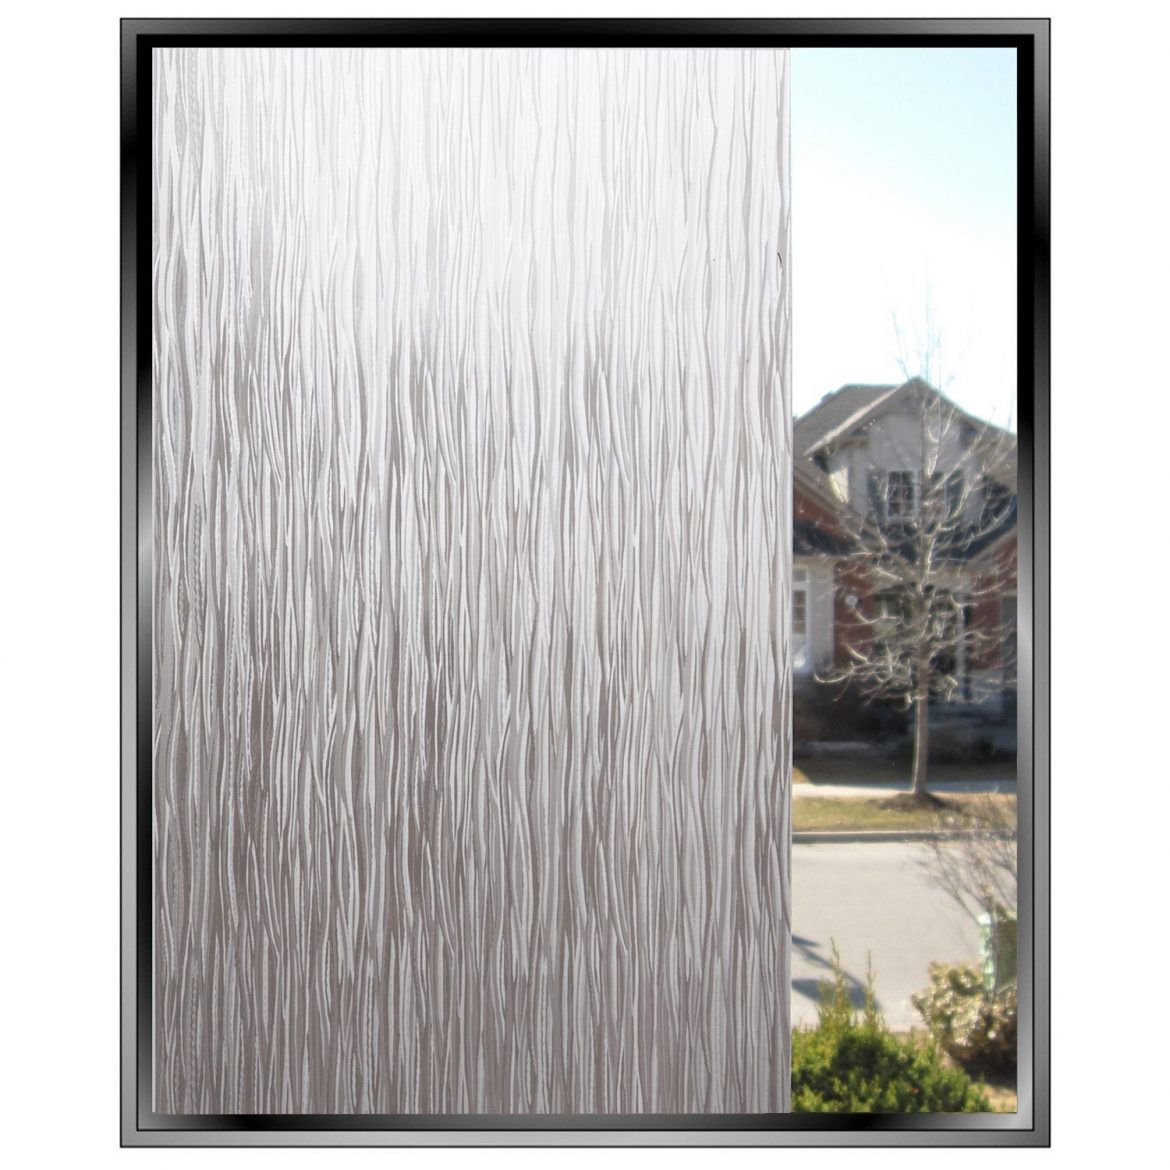
What do you do with a glass door when you need privacy? Or when you have a window that overlooks an area you may not like? Most often, people use curtains or blinds to address the issue. But other alternatives work just as well and look better. You can apply a window film. It sold at your local Home Depot, as well as the internet.

Here are some great examples.


As you can see, it’s simple enough to apply, and the results can be stunning. So the next time you have an issue with a glass door or a window with an unattractive view, consider using window film.

All Images Via Pinterest
#AbellaHomeStaging


How accessorizing can complete your design

April 30, 2020

How accessorizing can complete your design

Most people don’t realize just how vital accessorizing can be. I always say, “the devil is in the details,” and the details are the accessories!! Without proper accessories, it’s just an unfinished room.

As a designer, this is the part most of my clients have problems. You see, it’s not as easy as it seems. You need to know the proper scale, take into consideration color, and make sure it pulls the design together. This is what completes the space.

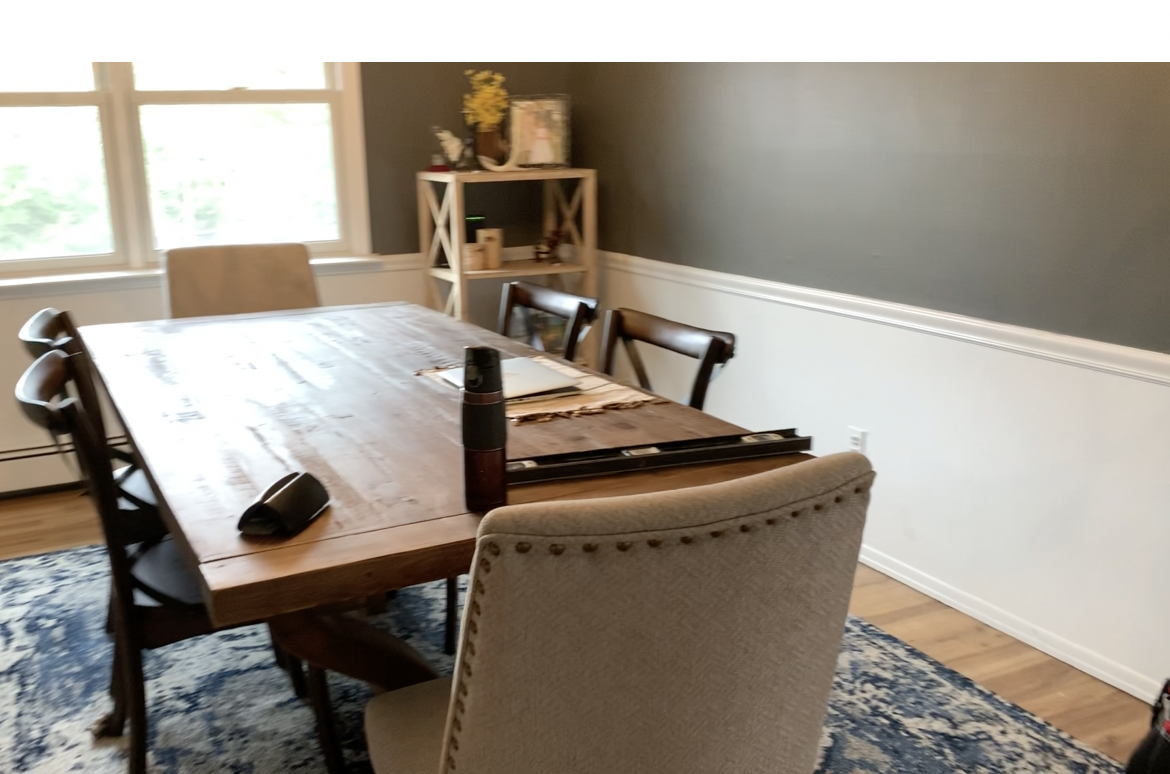
 This is a room I recently designed for a client. All the items I chose are in the space. However, the space seems incomplete because it hasn’t been accessorized yet.

Take a look at the before and after photos and see for yourself.
You can see there is no centerpiece to accent the table.


This wall seems so empty and vast without wall art.

The server is bare and has no charm!!

Now to add all the accessories and bring some much need charm!


As you can see, it’s so much better when the room has been accessorized. It completes the space. Adding warmth and charm.
#AbellaHomeStaging


Painting my bathroom cabinet

April 16, 2020

Painting my bathroom cabinet

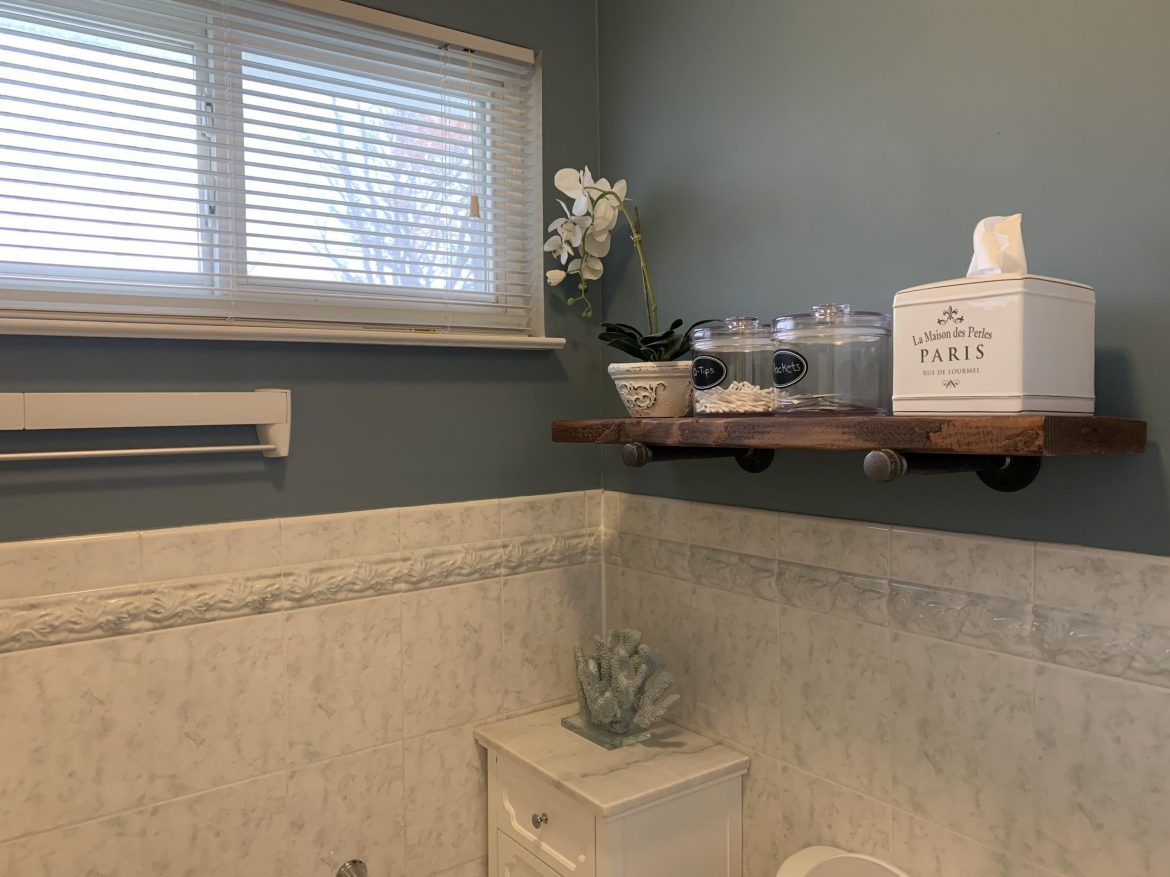
About six months, I painted my bathroom a beautiful blue. I decided I wanted to paint the bathroom cabinet the same value but much darker.


But before I could paint, I  needed to make sure I fixed any issues the cabinet may have. It is very old and peeling in some areas. I’m not ready to redo the bathroom just yet, but I do want to make it as appealing as possible.

In a way, it’s good that it’s old because the melamine came right off. As you can see from the picture, I just peeled it off all the doors. That made it so easy!!

As with any job you undertake, the prep work is the most crucial part. If you skip on the prep work, most likely, it won’t last as long, or it won’t turn out well. So I had to prime the doors. I didn’t sand since it was on MDF. If I were painting on Melamine, then I would have sanded. I used this primer, which worked very well. I only needed one coat.

Then I went to work and started painting. I took off the doors to make it easier to paint.

It took four coats to cover the cabinet completely. Something you should know, the darker the color, the more coverage you will need!! It doesn’t look beautiful right now, but I knew it would once it’s was done.

Well it’s all done and I couldn’t be happier. I love the color and as it dries it becomes darker. I used Sherwin William Duration 6230 Rainstorm

So what do you think? Not bad, right?!! Changes the whole bathroom. And it looks brand new!!

#AbellaHomeStaging


Ceiling treatments

April 7, 2020

Ceiling Treatments

For many years, the ceiling has been traditionally painted white. But lately, I’ve seen a trend in ceilings treatments. No longer are they just painted white? Instead, they are now painted in different colors and been given special attention.

I love the many different options now available. Here is some example to consider when you’re redesigning your space.

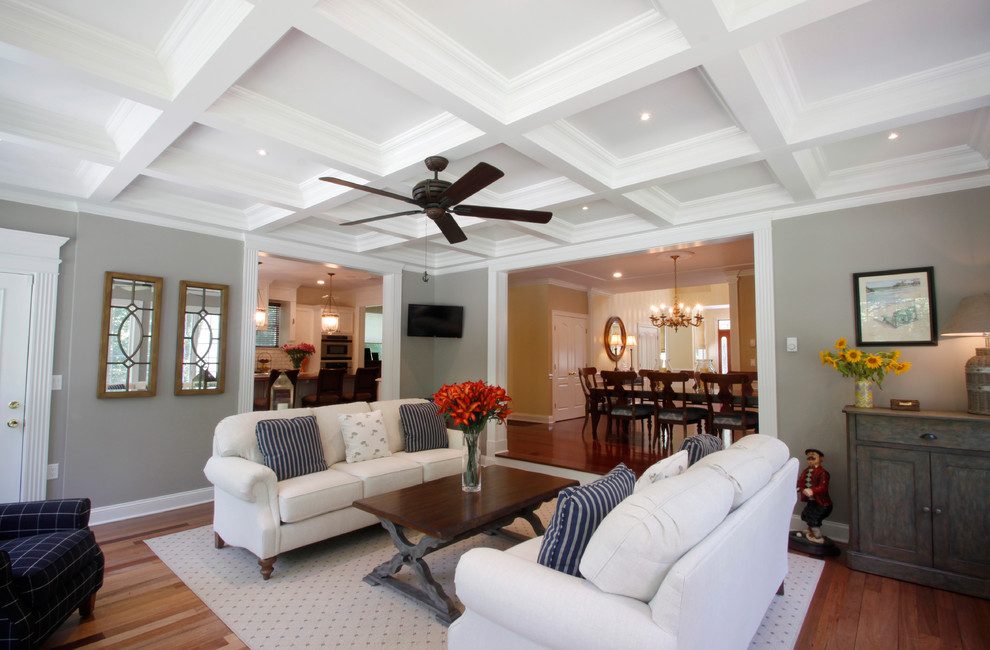
Coffered Ceiling

Medallion Ceiling

Wallpaper Ceiling


Tin Ceiling


As you can see there are many ways to treat a ceiling, some are more expensive than others. But the options are there. Some say the ceiling is your 5th wall. Depending on what you chose, it can make a room seem more traditional, classic, funky or very high end. Your choice!!


Adding to my Ikea bookcase

April 2, 2020

Adding to my Ikea bookcase

I’ve wanted to add to my Ikea bookcase in my office. It was nice, but I wanted more storage for my books, and I wanted to make it look a bit more upscale. 

I had some electrical work done, and I was now able to add to the bookcase I had. It’s something that I wanted to do for a while. 
Here is how the project unfolded.

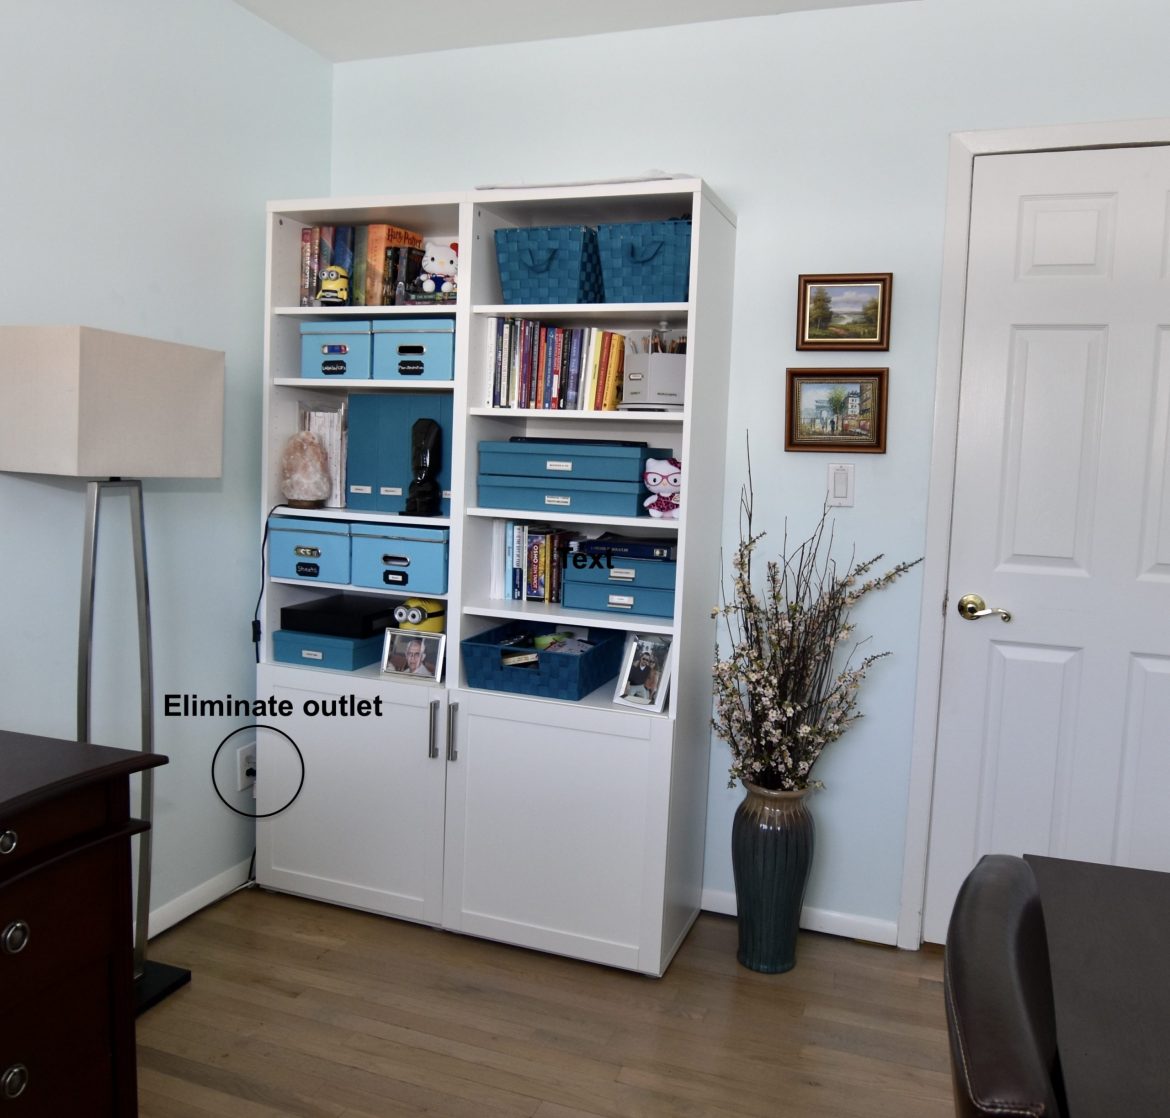
This is how it looked before. Not bad, but I wanted something a little bit more upscale in design. You can see in the photo that the outlet was an issue.


eliminated the outlet, and that allowed me to move the bookcase. Giving me the space I needed to add to it. I used an electrical cover plate.

As you can see here, it didn’t leave me with a huge space (don’t mind that I’m in the picture!!).

I did check Ikea first to see if they had a bookcase that I could use in that space. Unfortunately, they had a 15″ size bookcase I need a 10.5″ size bookcase. It was not going to work. I was going to have to build it.

So off to Home Depot I went to get the materials I needed. Here it is, although it’s not entirely done yet. I need to add the backing to it.

I added a masonite board. That allowed it to have a backing without adding weight since it’s only about 1/8″ thick.

I used finishing nails and made sure I didn’t go through the board!!

There was also an issue of the bookcase not being flushed against the wall. Because walls are rarely straight!! There were some gaps. I used a 2×2 and glued it to the bookcase, but there was a small gap at the bottom, so I had to be creative, and I used shims to fill in the gaps. It worked out beautifully!!

Once I had all the pieces I needed, the last on the agenda was to install crown molding. You can see I used finishing nails again, but some holes needed to be filled. 
First, I use this tool ( I have no idea what’s called). But you use it to pushed the nails in so that it’s easier to fill in the hole. It gives you a nice clean look.

I also filled in all the gaps between the bookcase and the walls. 

I am delighted with the way it turned out, as you can see from the before and after photos. It looks so much better.

#AbellaHomeStaging


Painted fireplace; Good or bad idea?

March 26, 2020

Painted Fireplace; Good or Bad Idea??

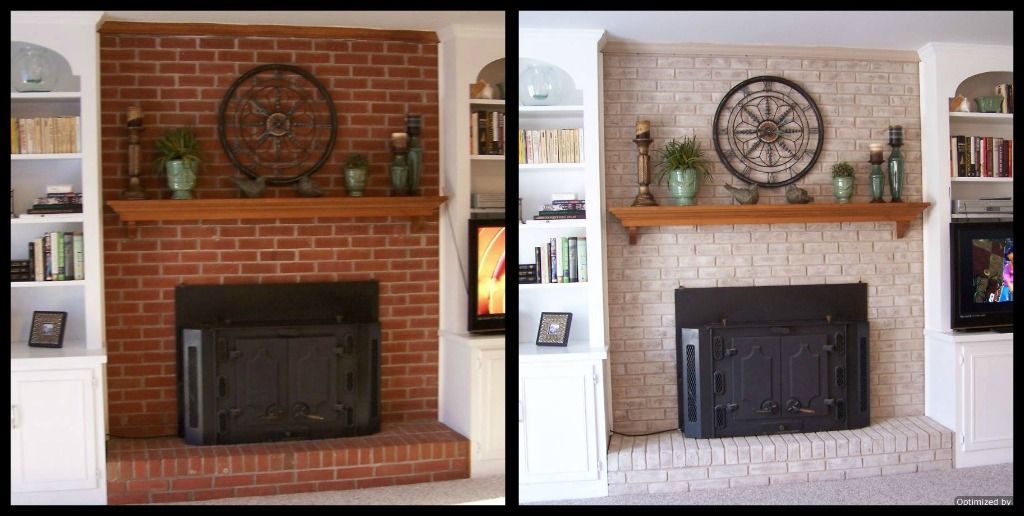
Painted fireplace, is it a good or bad idea?? Tough decision. It all depends on the condition of the fireplace. When I recommend painting the fireplace, I often get a reaction from my clients. “Really? You think I should paint it?” is usually the response I get. But if your fireplace is old and outdated, then yes, by all means, paint it.


As you can see, you can also paint it a different color other than white. Black looks stunning. An ugly fireplace is a potential problem for buyers, so if your fireplace is old and outdated, or it just isn’t appealing, then paint it. This will give it an updated look.


Master bedroom a huge selling point

March 19, 2020

Master Bedroom, A Huge Selling Point

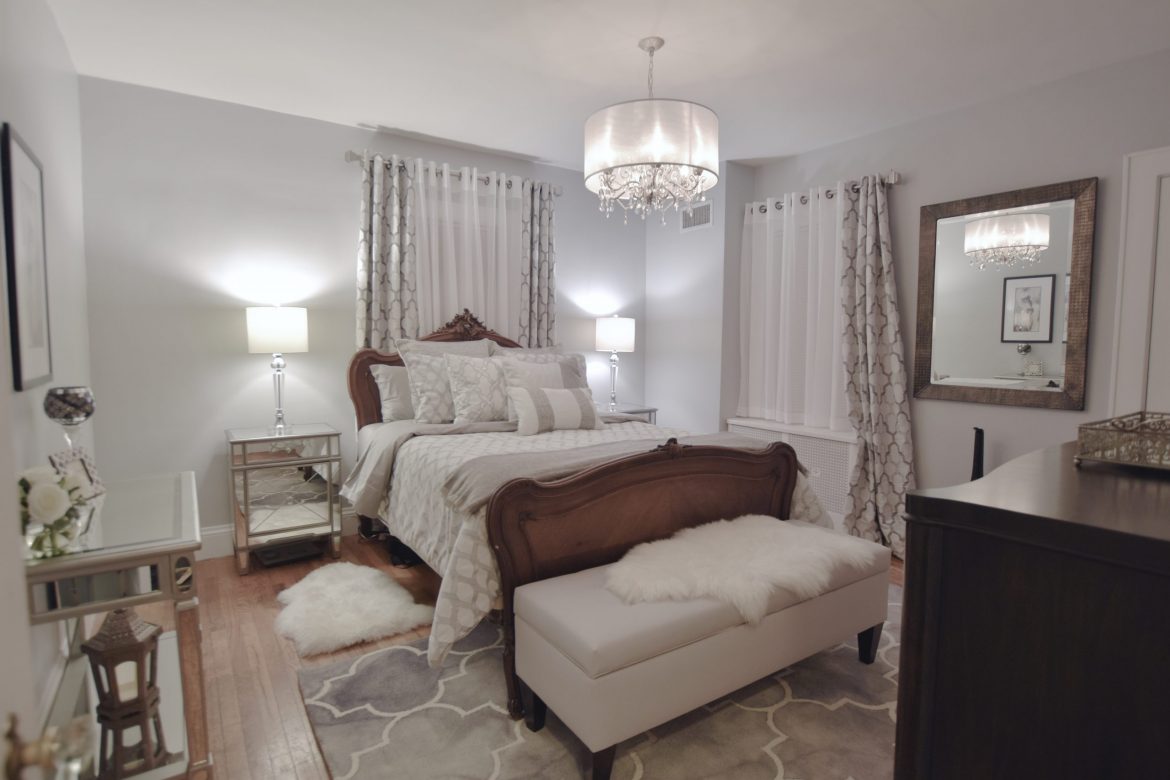
A master bedroom is a huge selling point. Many buyers want a 5-star quality master bedroom when purchasing a home. That is why it’s so important to update your bedroom, along with your kitchen and bathrooms. It isn’t challenging to achieve a high-end look. Sometimes they are a simple solution that has excellent outcomes. Here are some easy steps to making the bedroom of your dreams.

Imperfection – Don’t try to fight it, instead embrace it and work around it. In this bedroom, the window did not allow curtains to be hung on one side. Instead, use a shorter curtain and frame one side of the window. It works well.


Matchy-Matchy – This is one place you can and should match. Matching nightstand and lamps will give the room a symmetrical look. This will enhance that soothing feeling that we all want.

Fabric – Use fabric that can withstand stains. When selling your home, try not to use bold colors, jarring patterns, or lacy fabric. If you’re using a pattern, make sure you repeat it and keep it simple.
Color – When choosing the bed sheets for your comforter, my rule of thumb is to match the comforter. Too many colors are jarring to your senses. Make sure the color of your wall co-ordinates with your bedding. This way, you will have a cohesive look.

Remember this is your bedroom, use items that will appeal to your senses. Limit the amount of furniture, especially if you’re selling your home, and don’t put your office in your bedroom. Too many times, I’ve seen a master bedroom with an identity crisis. They are often used as either an office or storage area. This is a place to retrieve from your hectic life!! Treat it like a sanctuary.
All Images Via Pinterest
#AbellaHomeStaging


Problems with wet basement

March 5, 2020

Problems with a wet basement floor

Do you have problems with a wet basement floor? The issue with the basement, it sometimes gets flooded. So what kind of flooring can you put in a cellar that can take water issues? Carpet is no right, mold issues, Wood out of the question, it will warp with time. Laminates floors, adhesive get wet, making the tiles pop up. Floating floors, water will damage the particle boards.

So what can you use? Vinyl flooring is the answer. It can have the beauty and look of wood without the expense. 


It’s durable and completely waterproof. There are many different styles and many different qualities. Some are peel and stick, that won’t work with the water issue. Some you click into place. Do your homework and find out which will work for your space
All Images Via Pinterest
#AbellaHomeStaging