Cold Plunge Pools
May 23, 2024
According to Zillow, this is the hottest trend in wellness in 2024. It’s a great way to improve circulation and reduce inflammation. At-home cold pools are up 130% compared to last year.


admin


So, what are sensory gardens or pathways? It’s an area where you can be immersed in plants’ scents, texture, and colors. It can include wind chimes, wind socks, and flags. It engages your five basic senses.


Tongue-and-groove Ceiling

Painted Ceiling

Wallpaper ceilings

Black Ceiling

Fluted wall panels are a popular way to add shape features to any room. It’s a series of straight-grooved recesses. This design dates back to ancient Greece and Rome (not surprising)!
I love this look. It’s great as an accent wall. I also see fluted furniture, which may suit you better since it allows you to have the fluted feature without being overbearing.


Curved sofas have been trending for a while, and it doesn’t seem like they are slowing down any time soon. As you can see from these pictures, they are quite the design statement.


Did you know Barbie’s celebrated hot pink has become a design trend? So much that they are calling it Barbiecore?
What do you think? Would you follow this trend? I may not mind painting my walls pink and getting a few accessories in pink, but I don’t think I would invest in any furniture in hot pink!!


Since this is the beginning of the year 2024, I would like to show you the color of the year from a few well-known painting companies.
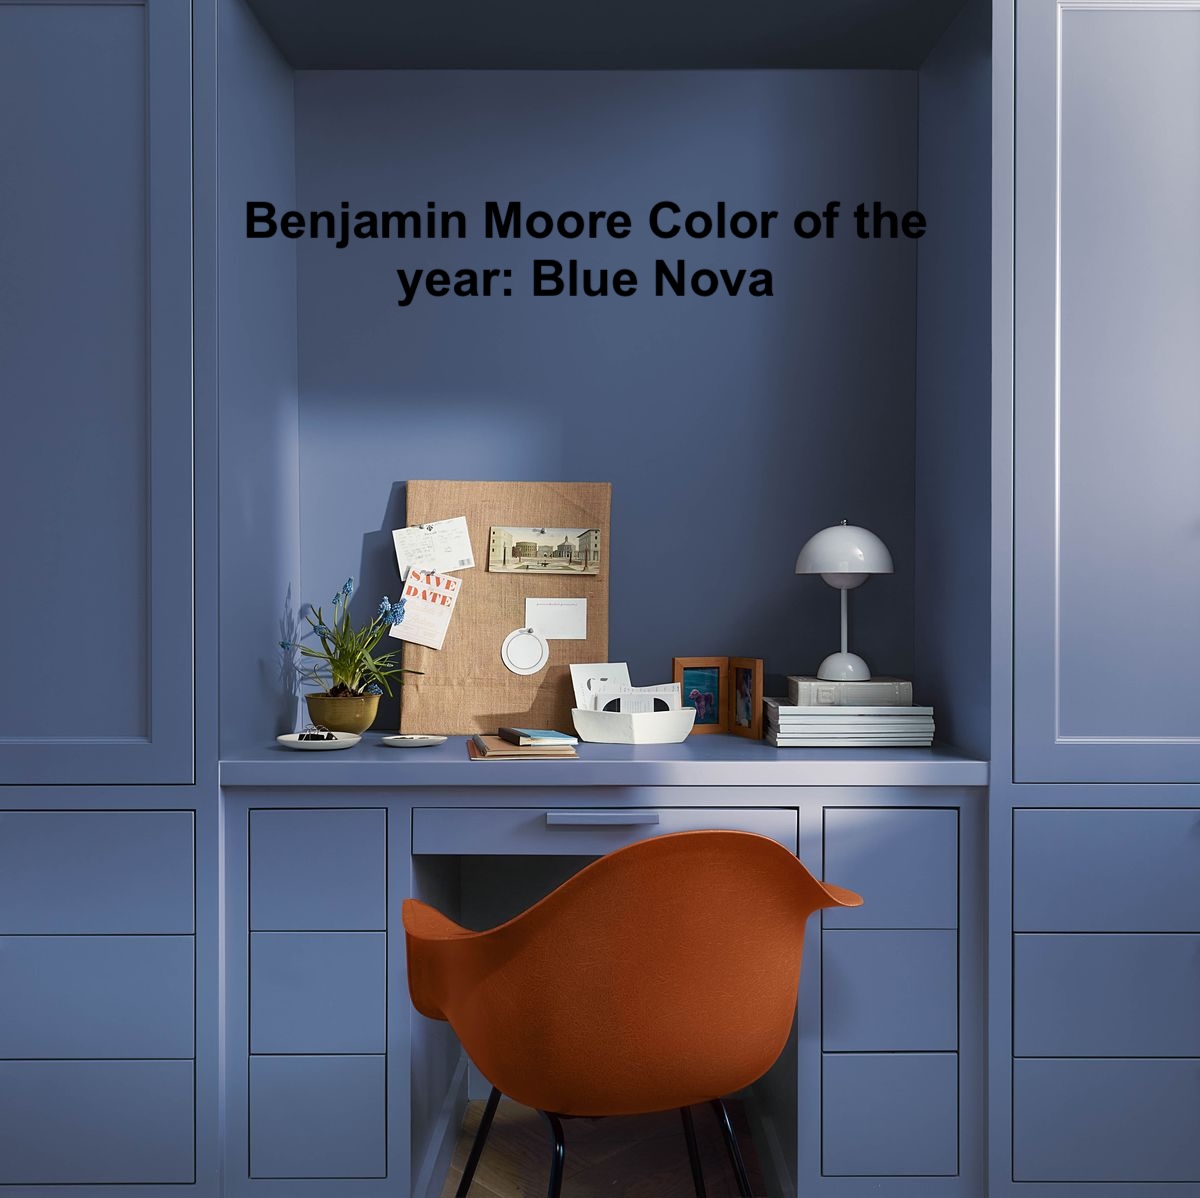
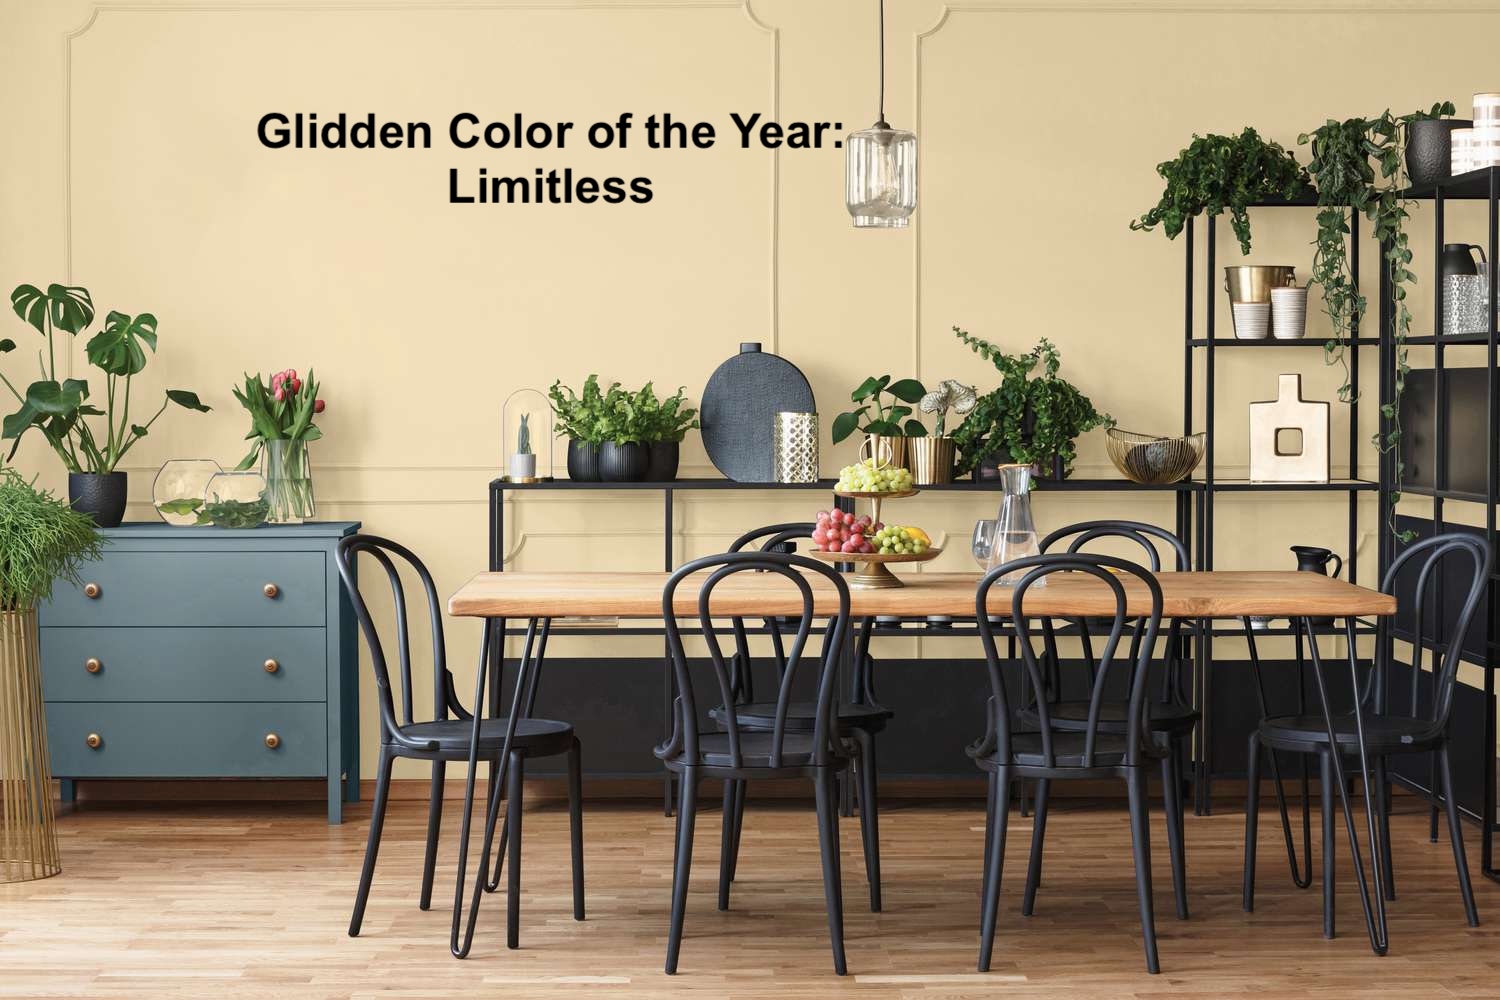
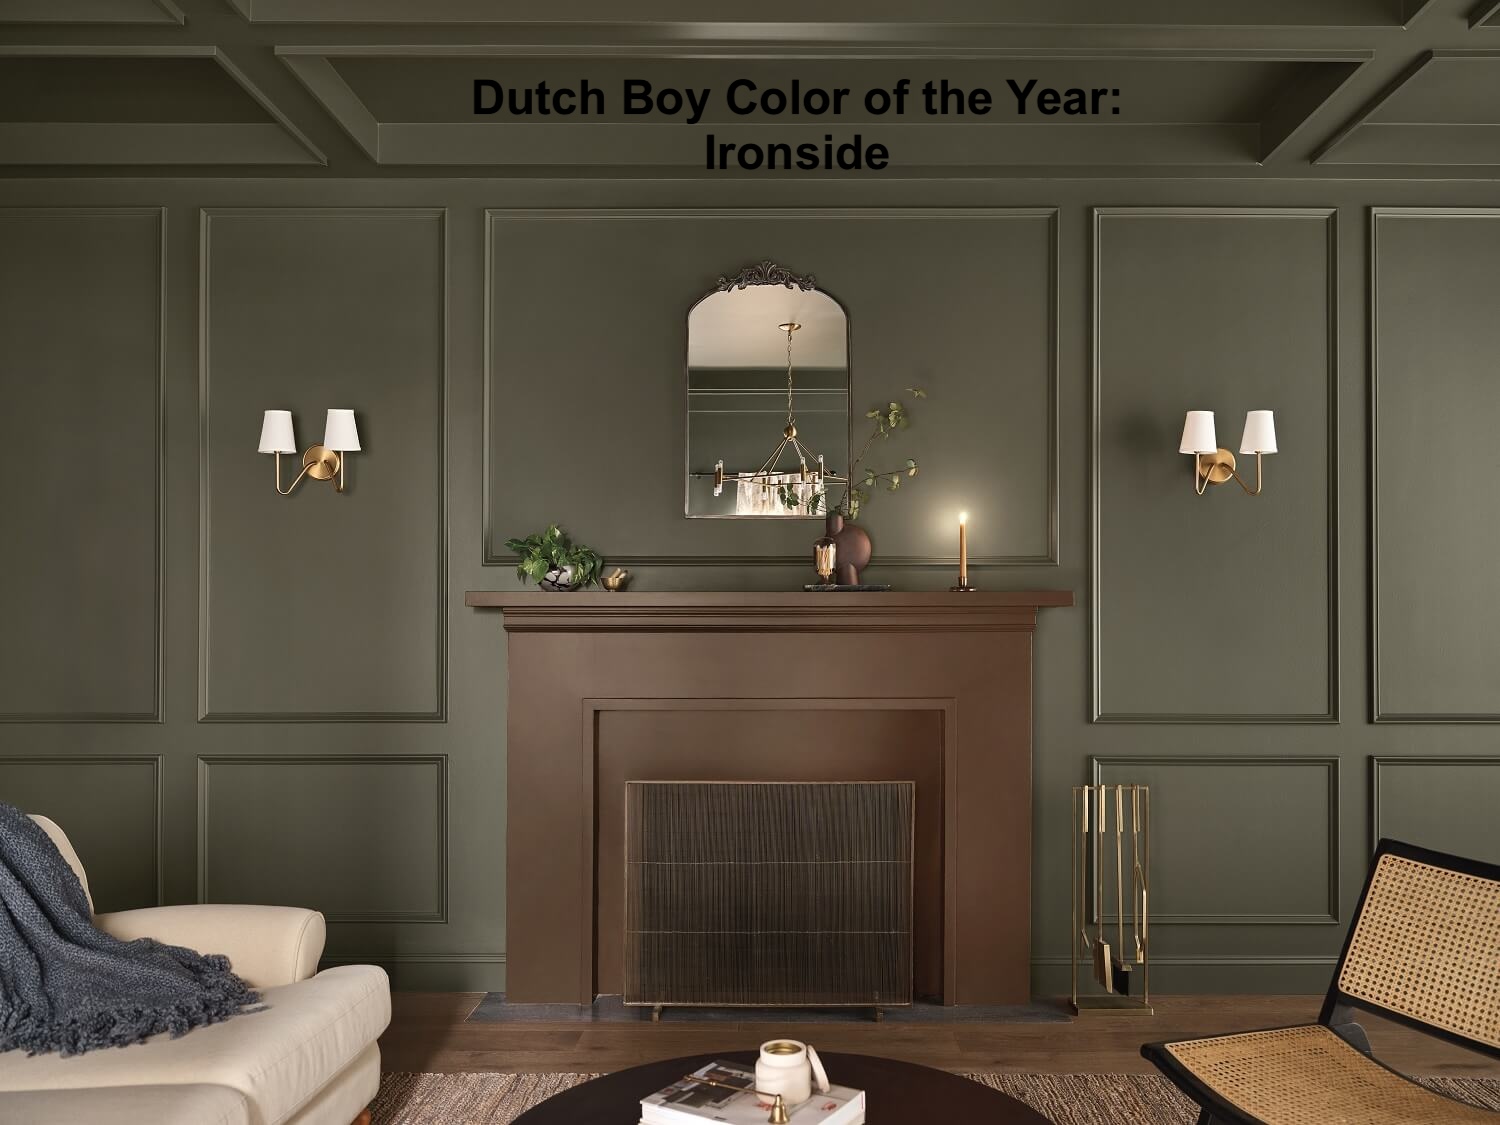


As you can see, blue hues are prominent. Warm neutrals, classic pastels, and earthy shades are all trendy.
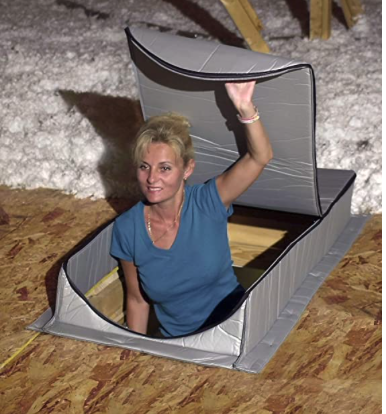
When I moved into my current home, the first winter was brutal. I live in a high ranch, the attic stairs leading to the attic, standing under those stairs, feeling the cold coming through the cracks, burr…..it was cold!!
I thought I was not going through another winter with that issue, so I researched and found a solution: an attic tent. What an ingenious idea! Who knew? I purchased it and installed it, and what a difference it made. No more draft came through, and it was so much warmer.
So if you have attic stairs and it’s drafty, try an attic tent. You’ll be surprised.