Taking on DIY projects

August 20, 2020

Taking on DIY projects

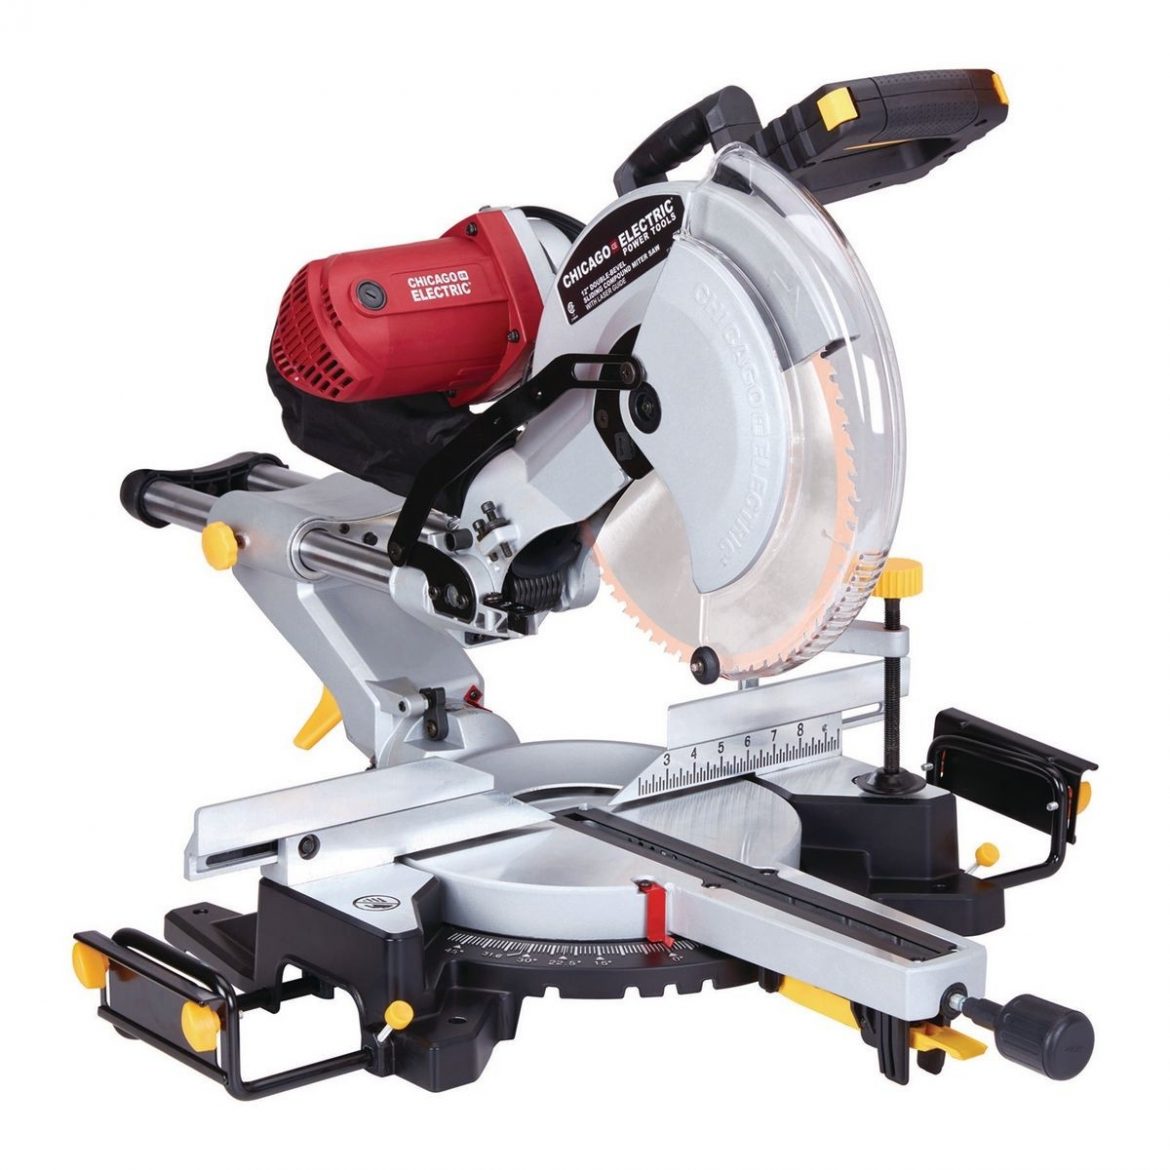
In today’s economy, we’re seeing more and more homeowners doing DIY projects. DIY projects can potentially save the homeowners hundreds of dollars and increase the value of the home. Although I give kudos to anyone attempting to improve their home, it can be a disaster. How many times have you walked into a house and thought, “who botched up this job?” only to find out that the homeowner did it?

I understand that people are trying to save money ( who isn’t?), but I say don’t take on more then you can handle, or the outcome can cost you money.
When considering doing the job yourself, use these simple guidelines to ensure that you can handle the situation and that it’s being done right.

  • Use resources like Home Depot or Lowes to get ideas of what the project is going to cost and how difficult it’s going to be.
  • If you don’t have the right equipment, consider renting it rather then buying it. That can save you money, of course, you should consider buying it if you intend to do more projects.
  • Ask friends or family who have experience to help you out. You can offer to pay them or barter out your service if you have something to offer them.
  • Find your local trade school and see if they have an apprentice program. Sometimes these apprentices are looking to gain experience or hone their skills. They might be willing to work for very little pay. You will get a knowledge student and a helping hand.
  • Research the project on the internet. You have vast tools at your disposal, use it.

If, after doing your homework, you find out that this might be a bigger job, then you thought, consider hiring an expert. This way, you know it will be done right, and it will probably cost you less in the long run, especially if you started a project, botched it up, and now have to hire a professional to fix it. 

#AbellaHomeStaging


What do you do with a glass door?

May 14, 2020

What do you do with a glass door?

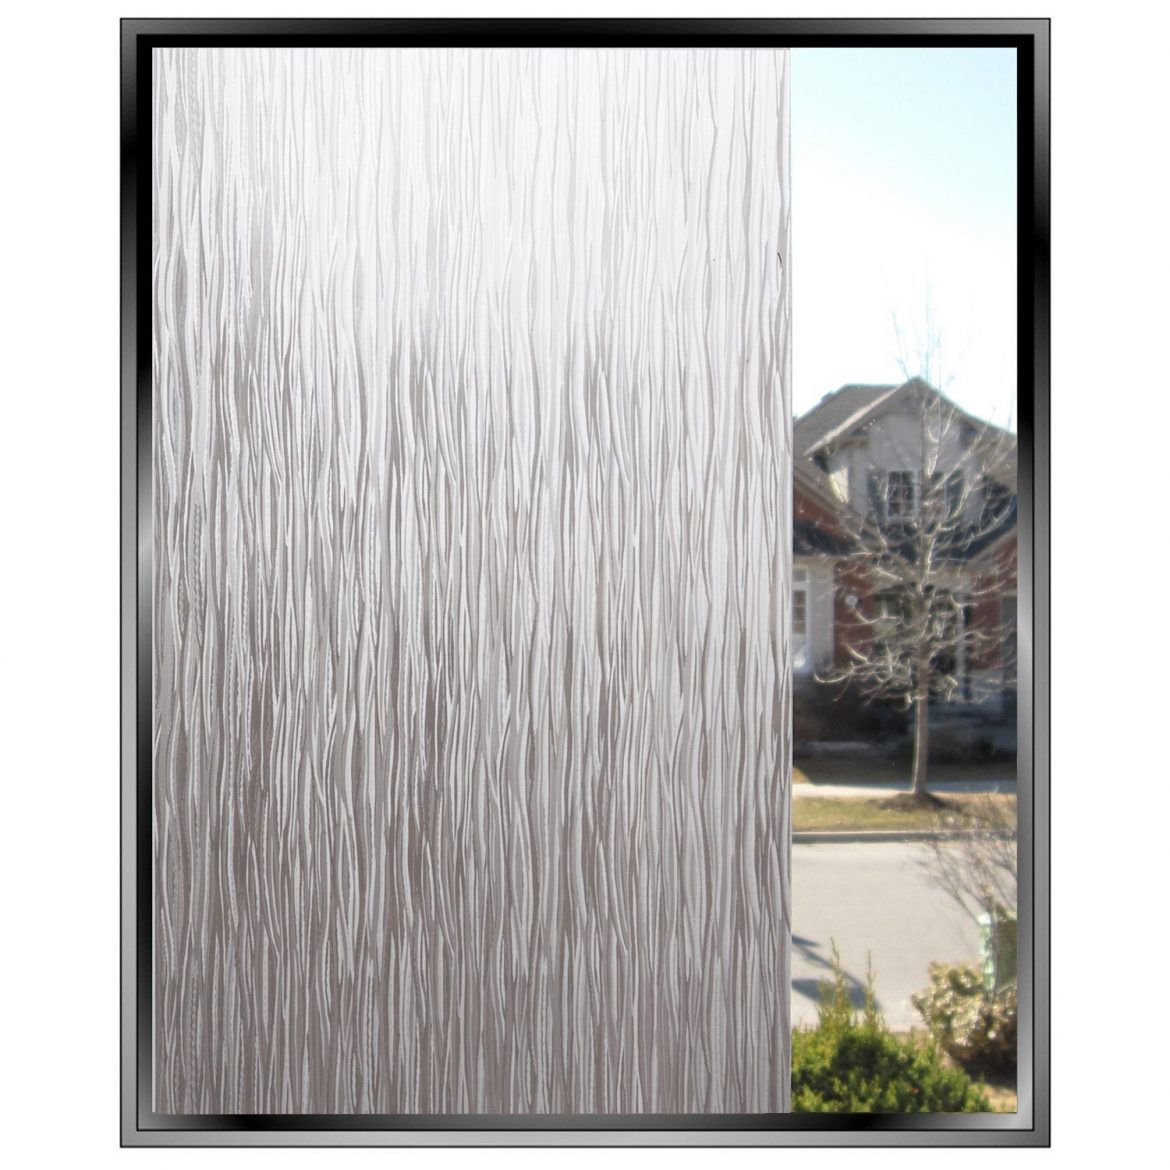
What do you do with a glass door when you need privacy? Or when you have a window that overlooks an area you may not like? Most often, people use curtains or blinds to address the issue. But other alternatives work just as well and look better. You can apply a window film. It sold at your local Home Depot, as well as the internet.

Here are some great examples.


As you can see, it’s simple enough to apply, and the results can be stunning. So the next time you have an issue with a glass door or a window with an unattractive view, consider using window film.

All Images Via Pinterest
#AbellaHomeStaging


Adding to my Ikea bookcase

April 2, 2020

Adding to my Ikea bookcase

I’ve wanted to add to my Ikea bookcase in my office. It was nice, but I wanted more storage for my books, and I wanted to make it look a bit more upscale. 

I had some electrical work done, and I was now able to add to the bookcase I had. It’s something that I wanted to do for a while. 
Here is how the project unfolded.

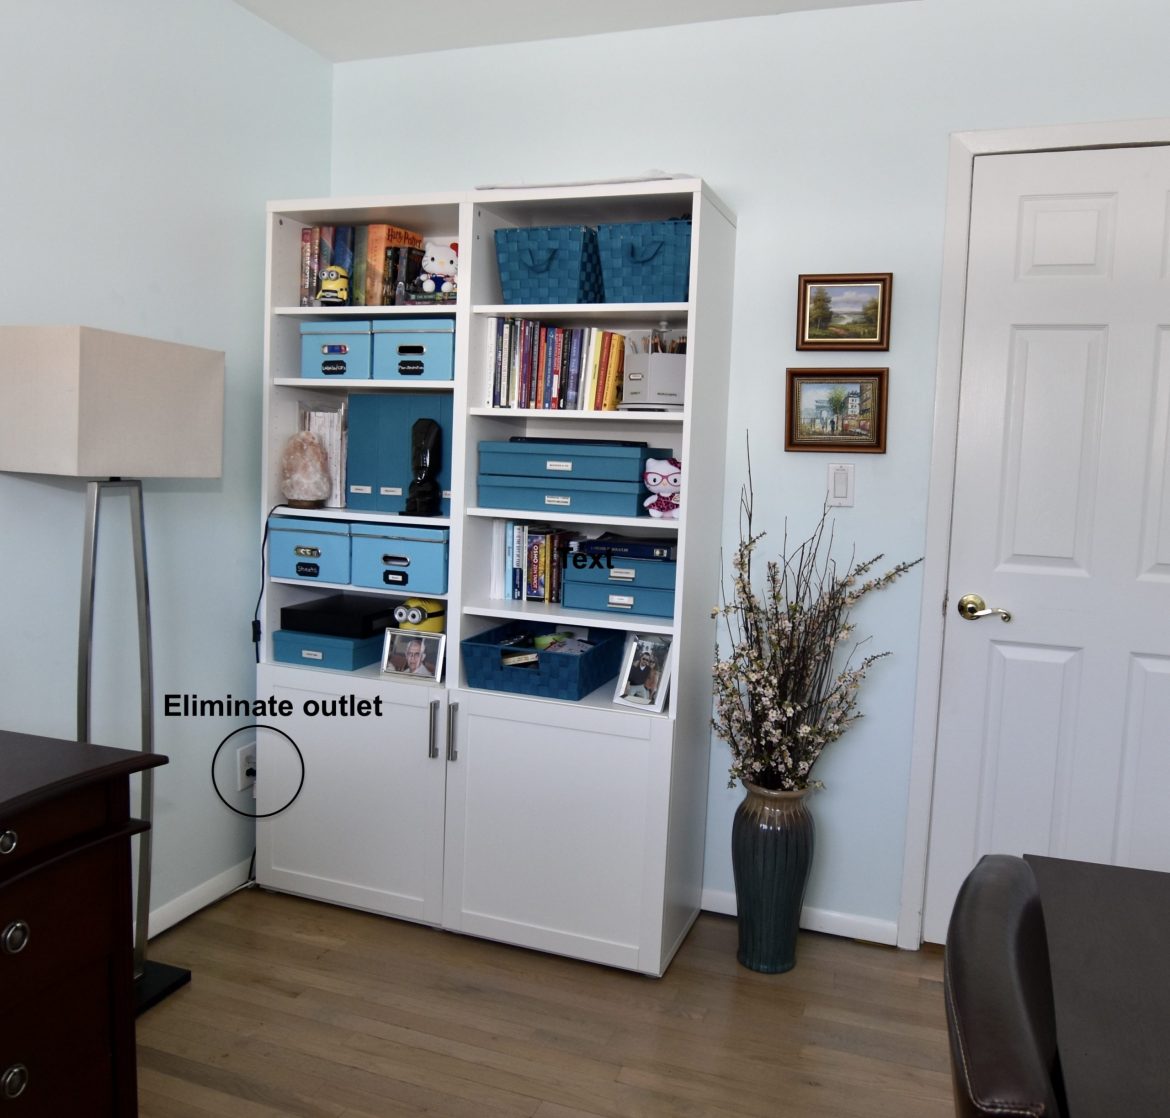
This is how it looked before. Not bad, but I wanted something a little bit more upscale in design. You can see in the photo that the outlet was an issue.


eliminated the outlet, and that allowed me to move the bookcase. Giving me the space I needed to add to it. I used an electrical cover plate.

As you can see here, it didn’t leave me with a huge space (don’t mind that I’m in the picture!!).

I did check Ikea first to see if they had a bookcase that I could use in that space. Unfortunately, they had a 15″ size bookcase I need a 10.5″ size bookcase. It was not going to work. I was going to have to build it.

So off to Home Depot I went to get the materials I needed. Here it is, although it’s not entirely done yet. I need to add the backing to it.

I added a masonite board. That allowed it to have a backing without adding weight since it’s only about 1/8″ thick.

I used finishing nails and made sure I didn’t go through the board!!

There was also an issue of the bookcase not being flushed against the wall. Because walls are rarely straight!! There were some gaps. I used a 2×2 and glued it to the bookcase, but there was a small gap at the bottom, so I had to be creative, and I used shims to fill in the gaps. It worked out beautifully!!

Once I had all the pieces I needed, the last on the agenda was to install crown molding. You can see I used finishing nails again, but some holes needed to be filled. 
First, I use this tool ( I have no idea what’s called). But you use it to pushed the nails in so that it’s easier to fill in the hole. It gives you a nice clean look.

I also filled in all the gaps between the bookcase and the walls. 

I am delighted with the way it turned out, as you can see from the before and after photos. It looks so much better.

#AbellaHomeStaging


New Products for 2019

January 3, 2019

New Products for 2019!

Since we are starting a new year, I thought it would be a nice idea to talk about some of these products you may not be aware.

Some of these products I have personally used and some I have not. All are products that can enhance your designs

1. Decorative Film– I love this product. These are films that can be applied over any glass door/window. Think of the possibilities. They offer privacy and decorative ideas. They are removable and reusable. Come in an array of colors and style to suit anyone taste.

2. Peelable Wallpaper – One of my favorite product. The use of this product is endless. You can use this on bookcases, furniture, lampshade, walls, ceilings….. see where I’m going with this? The best part, it’s reusable. Great for people who are renting. Very easy to install and remove.

3. Liquid Stainless Steel Paint –Do you want a stainless steel appliance but don’t like the cost? Then paint it — yup you heard right. This paint has stainless steel in the product. It’s even magnetized. You simply use it just like paint. How cool is that? I haven’t used this product yet, but I love the idea. It’s even available in HomeDepot

4. Soft Metal Film– If your appliances are still working but need a facelift, then this could be the answer. Same concept as liquid paint but this product you simply peel and stick. A little easier to use. Can withstand temperatures from 55 degrees to 122 degrees. I had used this product in my old home when I was getting ready to put it on the market. Held up great for two years and counting.

I hope you liked the products I chose. There are many more in the market and many more that come out each year. The trick is to be informed. Of course, you can always hire a designer. This way you get the added benefit of what’s trending out there.
(Images Via Pinterest)