Trick to Repair Furniture

April 20, 2023

Carpenter Trick to Repair Furniture

Why would I shove toothpicks in a hole in my antique cupboard door, you may ask…

Well, an old-timer carpenter taught me this trick, which works fantastic!

What’s the trick?

HometoCottage.com Old Carpenter TrickSuper simple…When you have a loose screw (probably should do a different treatment for the mental sense of a ‘loose screw’… I’m just talking about the literal meaning of a loose screw today) due to the hole it’s screwed into being just a bit too big like I did one day, I realized, when I opened the door of an old cupboard I have in the breakfast room. The top of the door fell off the cupboard, barely holding on by the bottom hinge! Oops, I would recommend fixing those loose cabinet and cupboard doors before it gets to that point, or it can lead to more significant problems. I’m lucky I used the door when it happened, so I could immediately catch it and relieve the tension on the bottom hinge. I’m afraid the door and cupboard could have split if it had let loose when one of my grandchildren opened it.

So here’s how to fix it:

(according to my old carpenter friend that taught me the carpenter trick to repair furniture)

HometoCottage.com too big of hole in doorI removed the door from the cupboard and laid it on a flat surface, (it will need to lie flat overnight, so pick a spot where it can sit for a while)

HometoCottage.com squirt in wood glue

Then I squirted in a bunch of Carpenter’s Wood Glue.

(in this case, I do prefer wood glue, I believe it is more robust and works better for this project)

HometoCottage.com shove in toothpicks

The next thing I did was to fill the hole with toothpicks…

One at a time, shoving the last ones in as hard as I could. A couple of thoughts about this: be sure to try to get the toothpicks to the bottom of the hole; this is important because one of the issues with loose screws can be the gap is too deep. And secondly, try to fill the void; some of the glue will ooze back out of the spot, but that’s OK. For effect, I showed you all the toothpicks long at one time,

HometoCottage.com snipbut it’s much easier if you snip each one once as it’s inserted in the hole. Getting the top of the toothpick flush with the cupboard door is crucial so that your hinge will lie flat on the door when placed back on it.

HometoCottage.com toothpicks and glue filled hole

Once the holes were filled with snipped toothpicks and glue, I let them dry overnight. It’s hard to define separate toothpicks in this photo, but each screw hole did take several toothpicks to fill.


What you’re creating is a wood-based wood filler that will have the strength to give the screw something to grip onto.

HometoCottage.com carpenter trick repair doneWhen you are ready to put the hinge back on the door,

it’s essential that you pre-drill the holes for the screws.

This always helps prevent the screw from slipping around and not going into the wood in the exact spot we’re aiming for and helps prevent the wood from splitting. Just be sure you don’t go too deep or use too large of a drill bit (but if you do, now you know how to fix it!)

The old screws holding the hinge were in terrible shape, and I couldn’t reuse them, but these new screws work great and hold the door on well.

All done!!

HometoCottage.com tv and primitive cupboard-001
This article was written by Simple Decorating Tips

Smart Tiles

April 6, 2023

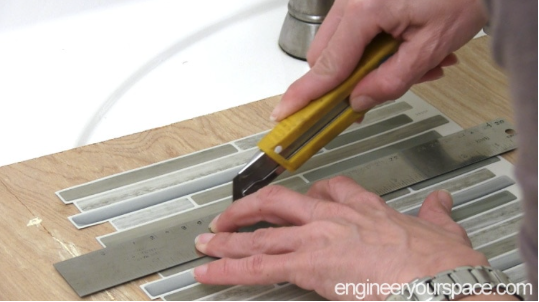
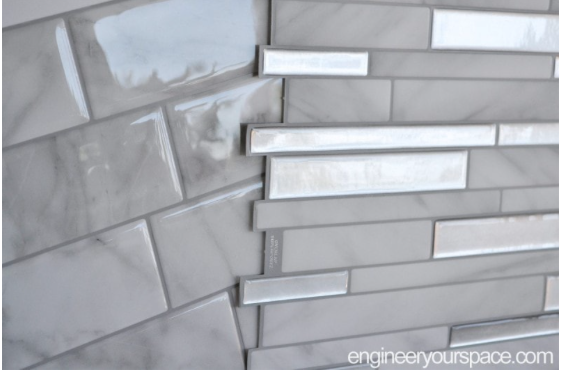
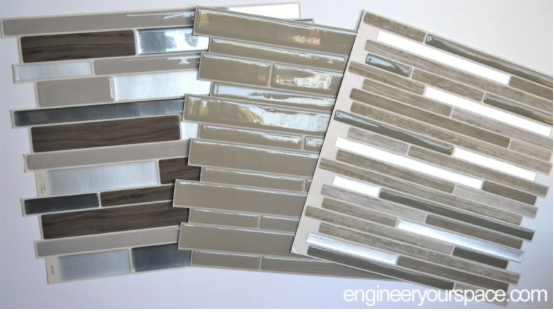
I recently came across Smart Tileswhich I thought was an excellent product. It’s a peel-and-stick, very thin and lightweight tile. You use a ruler and a utility knife to cut it. So easy to use and can contour around electrical outlets. Anyone can install it. They are great for kitchen backsplash, as well as bathroom backsplash.

The result is impressive. They come in different styles and colors and are low in cost compared to tiles. Perfect for renters or people who are on tight budgets.

Check them out and give them a try!!


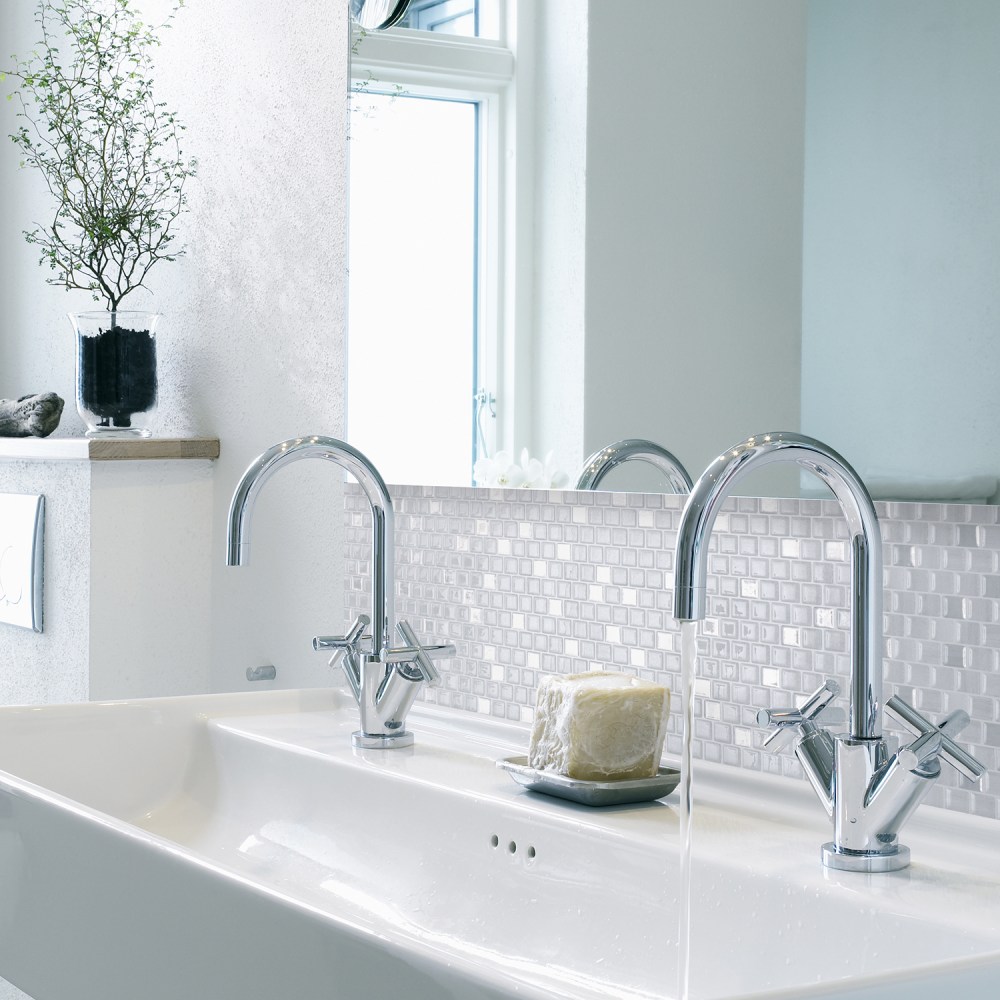
Use them in Bathrooms.


And in kitchen 


Even on stairs!!

Different Types of Sofa

March 16, 2023

There are many different types of sofas; it boggles the mind. But we can narrow it down to 11 design styles. From these styles are many variations. Understanding these styles may help you select the best design for your home.

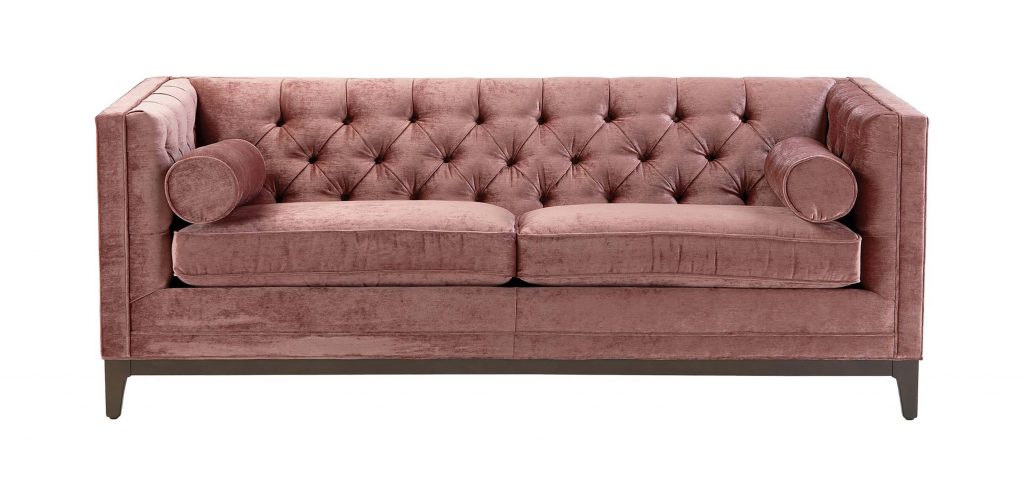
1. Chesterfield Sofa – This style is defined by its rolled arm. The back is the same height as the arms. It has tufting or quilting but no cushions. He dated back to the 18th century and was commissioned by the Earl of Chesterfield, England. The sofa was commissioned so that it would allow men to sit on the sofa upright and not wrinkle their suits.


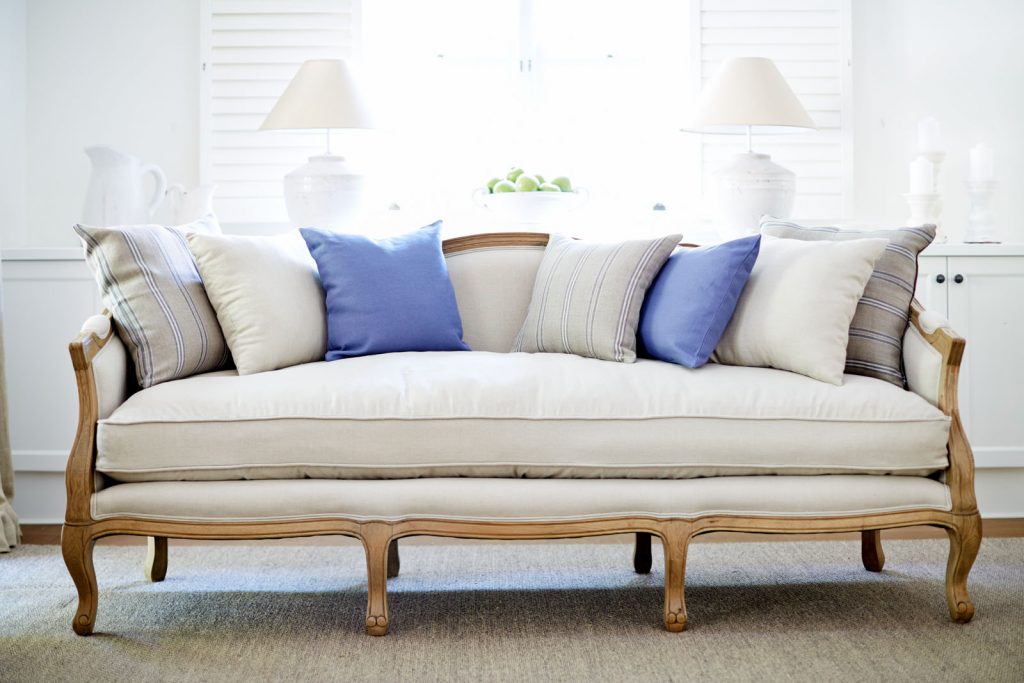
2. Cabriole Sofa – This style is characterized by its “S” shaped legs and exposed wood frame. It also has arms that are slightly lower than the back, and it has no back cushions. Cabriole goes back to the 18th century.


3. Camelback Sofa – It has an arched back, similar to a camel, hence the name!! This style has rolled or square arms, usually no back cushions, and the legs are exposed.


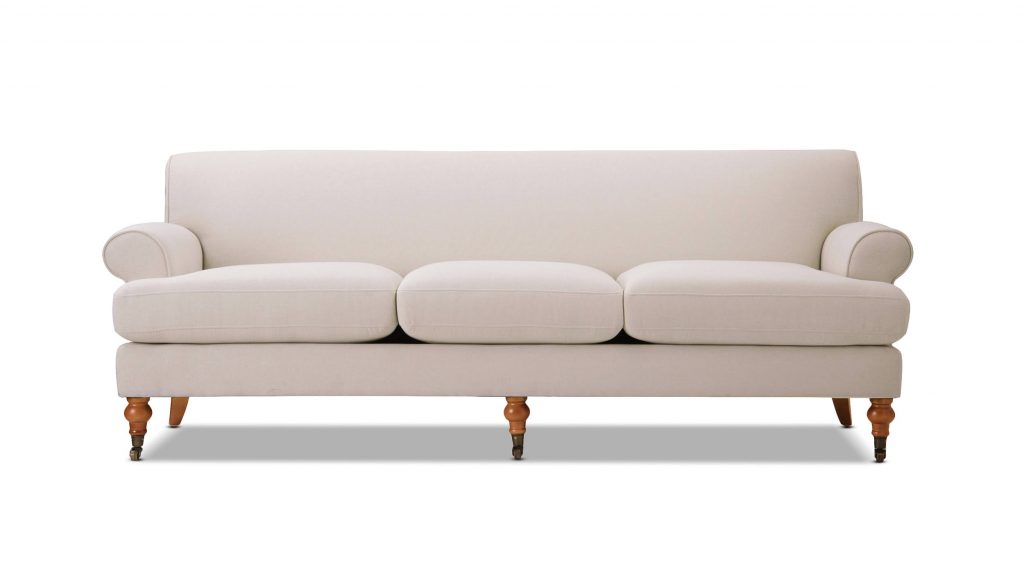
4. Lawson Sofa – Created by Thomas W. Lawson, an American businessman. The first Lawson sofa came with pillows, and it was overstuffed. Very different than the traditional sofas. There are many variations of this sofa, but you can recognize this style by its three cushions and rolled or square arms.

5. Tuxedo Sofa – Starting the modernism movement in the 1920s. It got its name from the town of Tuxedo Park in New York. The arms define this style; they are the same height as the back. Most of the Tuxedo sofa does not come with back cushions. Legs are exposed. This style differs from Chesterfield. Chesterfield has rolled arm; Tuxedo does not.


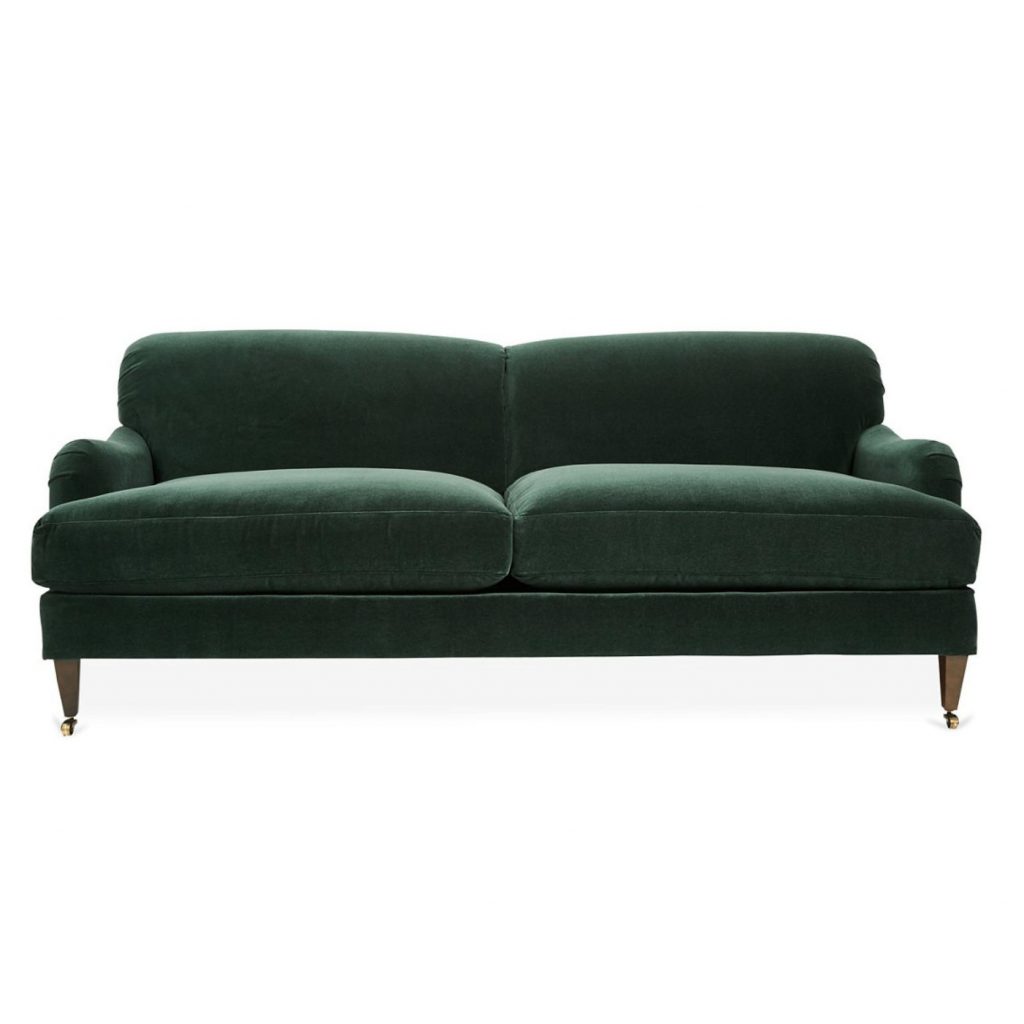
6. English Rolled Arm Sofa – Considered one of the coziest sofas. Sometimes called the Club Sofa. It dates back to the turn of the century. It has a tight back but generously sized cushions. The arms are recessed.

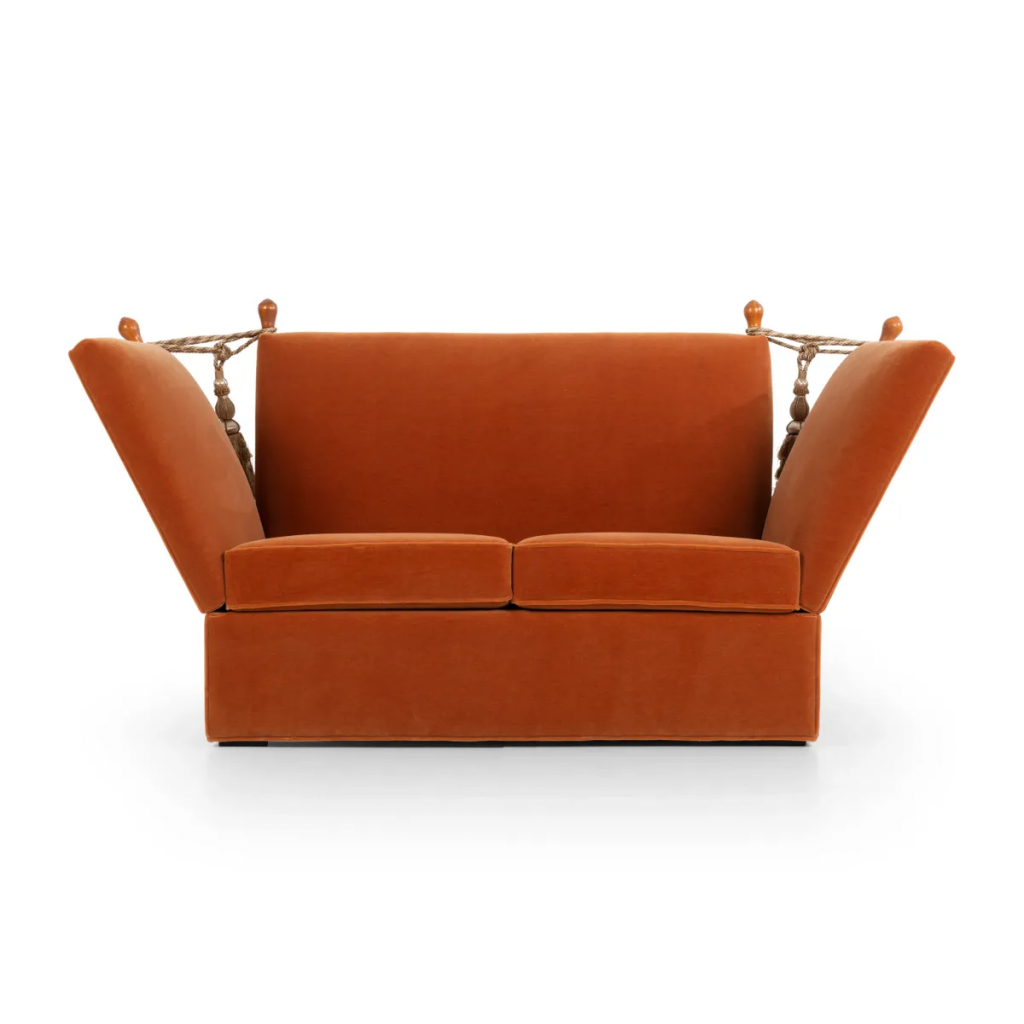
7. Knole Sofa – Dates back to the early 1600s. Back then, sofas did not exist. Instead, they used settee. This style has a straight high back and angled adjustable arms. Cords were used to connecting back to constituents. This style has decreased in popularity, but it can still be found in some homes.

8. Bridgewater Sofa – This style is defined by its softly rolled back, low set-back arms, and padded cushions. It can also be called birch-arm or English three-seater.

9. Mid-Century Modern Sofa – Started in the mid-1930s to 1965. They have a retro appearance. They come in many variations. This style has a streamlined form with square legs.

10. Sectional Sofa – Promoted by modernism, this sofa style has modular components. It has corner units ottoman and sometimes comes with chaise or recliners.


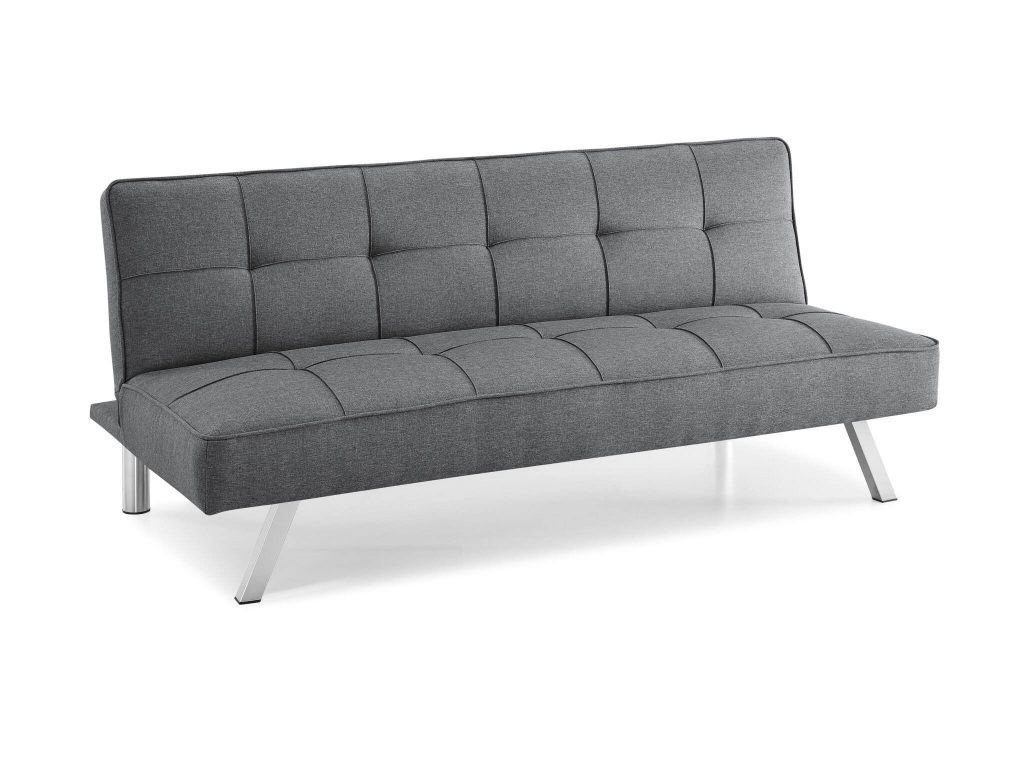
11. Futon Sofa – Dates back to 17th century Japan. The back folds down to create a large bed. This is perfect in a space where it can not accommodate a bed.


There are many variations to the styles of sofas mentioned here. Knowing what form best fits your space can significantly help to select the couch you want.

And if you need help, you can always reach out to me.

Different Types of Ceilings

March 2, 2023

Did you know there are many types of ceilings? Some you may know, and others may not be familiar to you. Either way, you have a choice. Every kind of ceiling will give your space a unique look. In addition, each ceiling offers different characteristics.

Here are just some of the ceilings to choose from:

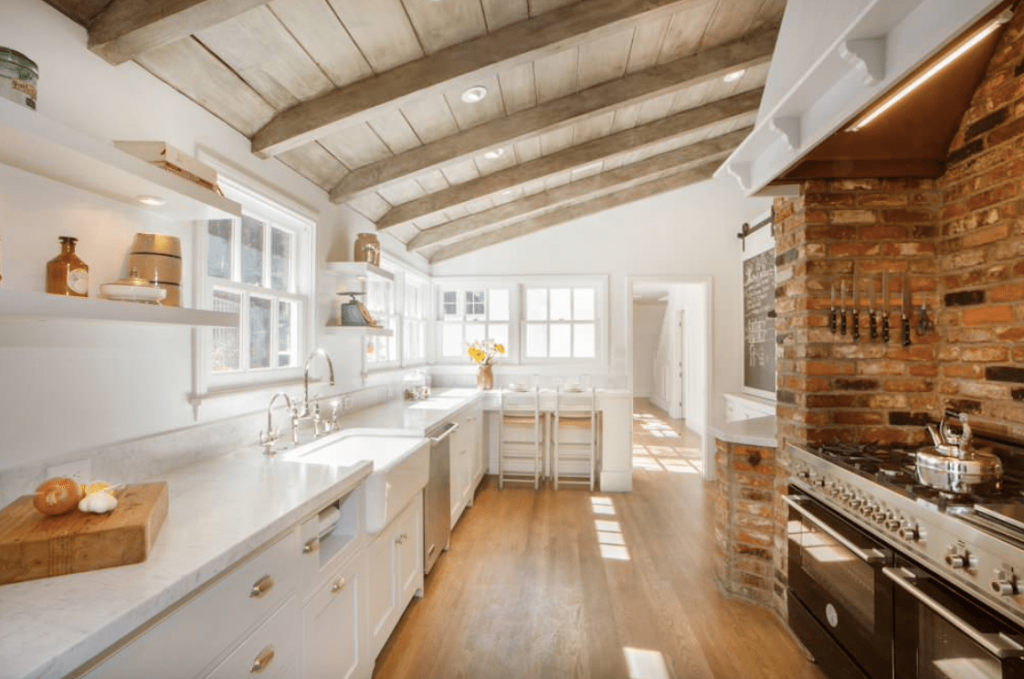
Exposed Beam Ceiling – This style gives the space a more rustic feel.
Tray Ceilings – Cut-out design. The mid-way of the ceiling is cut out. There can be lights around the perimeter, in the center, or both!!
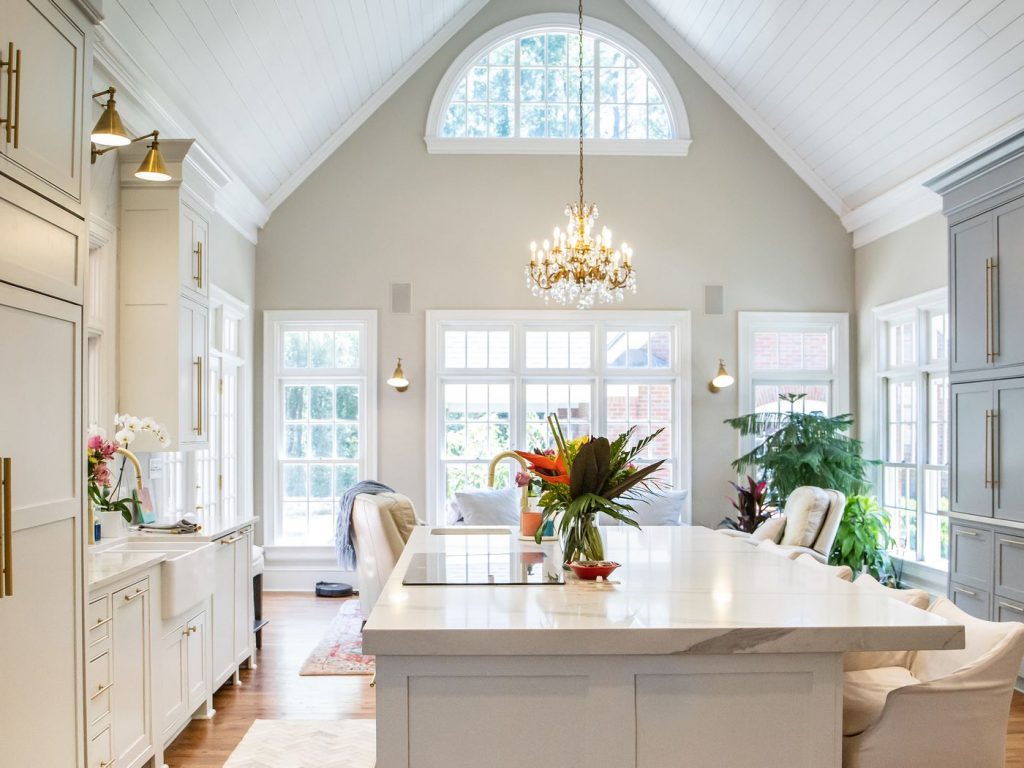
Vaulted/Shed/Cathedral Ceiling – They are all very similar. They form the shape of the roof. Sometimes the ceiling can be slanted instead of meeting in the center of the room.
Coffered Ceilings – Repeat hollow square or rectangular pattern. This is one of my favorite types of ceilings.
Domed Ceiling – Mimics circular dome. Usually found in high-end homes. It can be costly to build.
Suspended Ceiling – Used chiefly in the commercial. They have dropped ceilings and can be used to hide pipes.
Cove ceiling – Elevates gradually. Meets with a flat center.
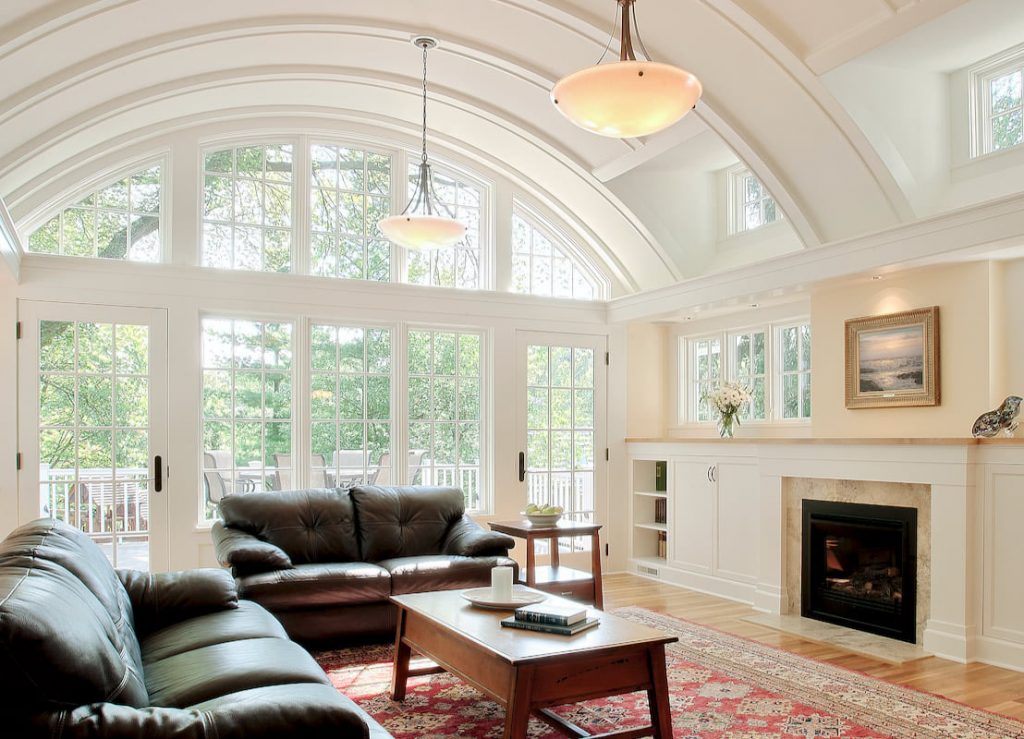
Barrel Vault Ceiling – Upward arch. The entire length of the room was like a barrel cut in half.
As you can see, there are many types of ceilings!! Hard to choose? Absolutely!! If you decide to do something different, then go for it. It’s up to you. 

Hardwood vs Wood-like Tiles

February 16, 2023

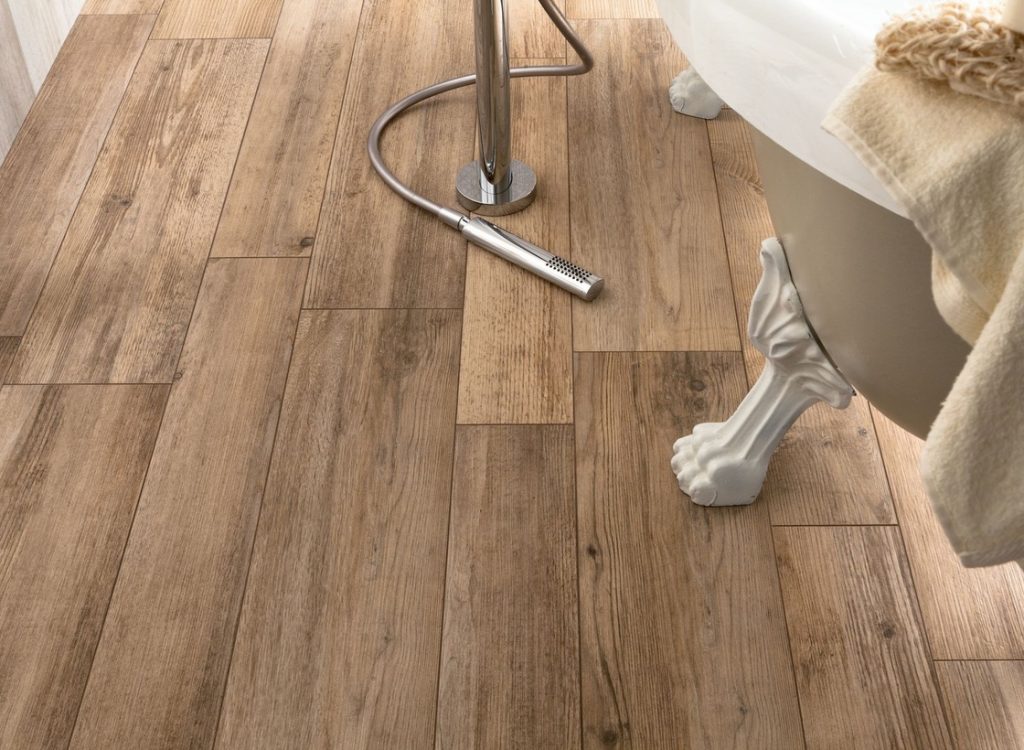
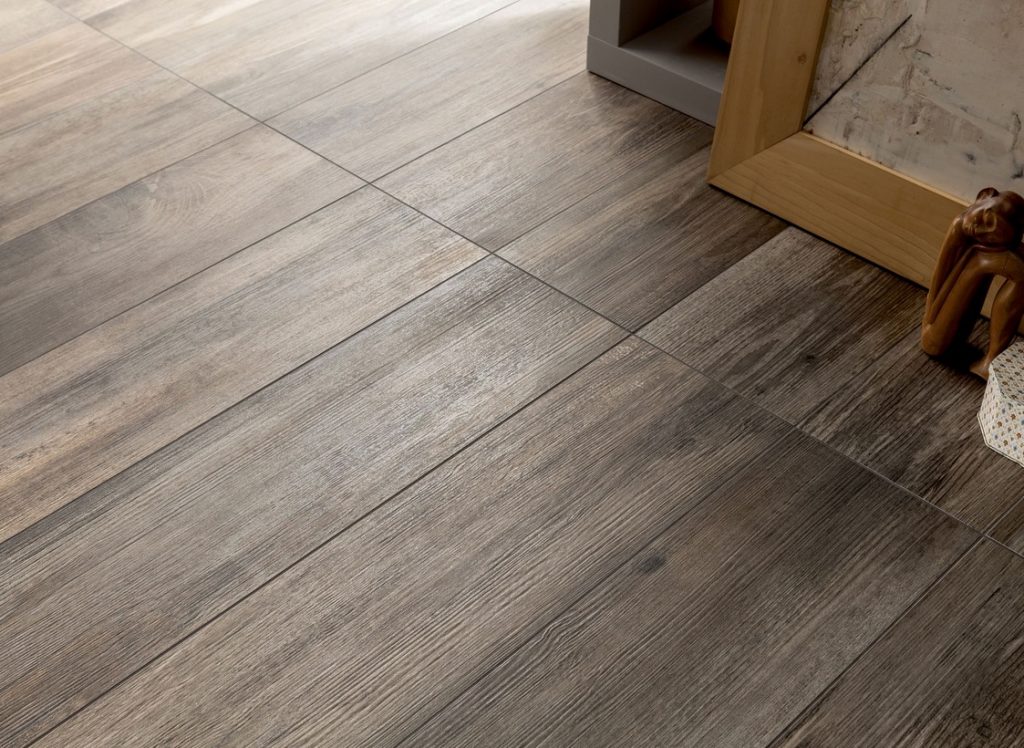
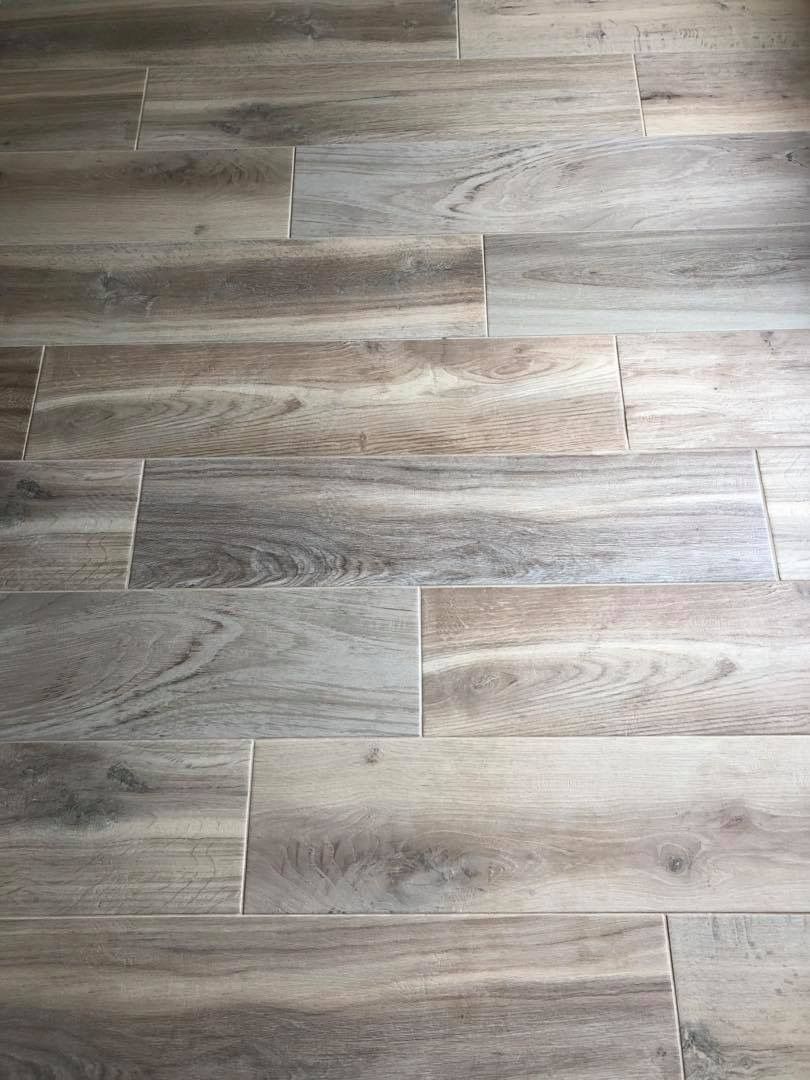
These days some tiles look just like hardwood. So what are the benefits of these wood-like tiles? Well, for one thing, they can go over cement flooring. Hardwood needs a sub-flooring, and it does not go over cement. 

It’s also great in areas with a lot of moisture, like the bathroom. Or in the kitchen, where there is a lot of traffic and wear and tear. The tiles look so real nowadays that it’s hard to tell the difference.

They come in many different widths and colors. Check it out yourself, and you’ll be surprised.


Senior Citizen Apartment

February 2, 2023

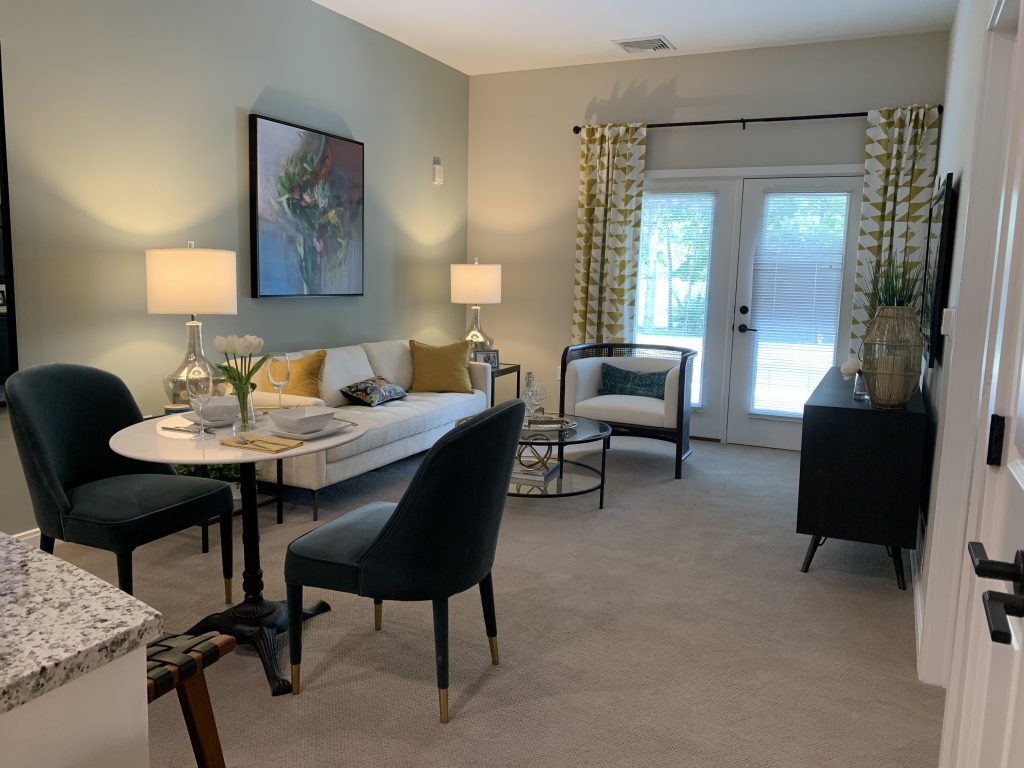
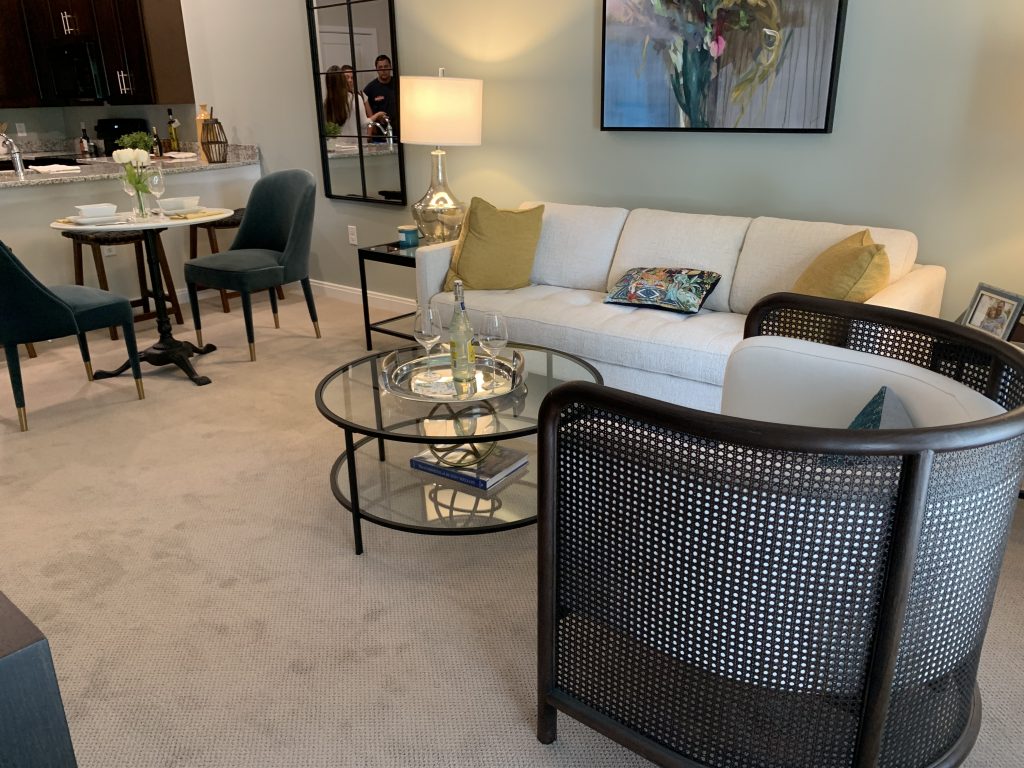
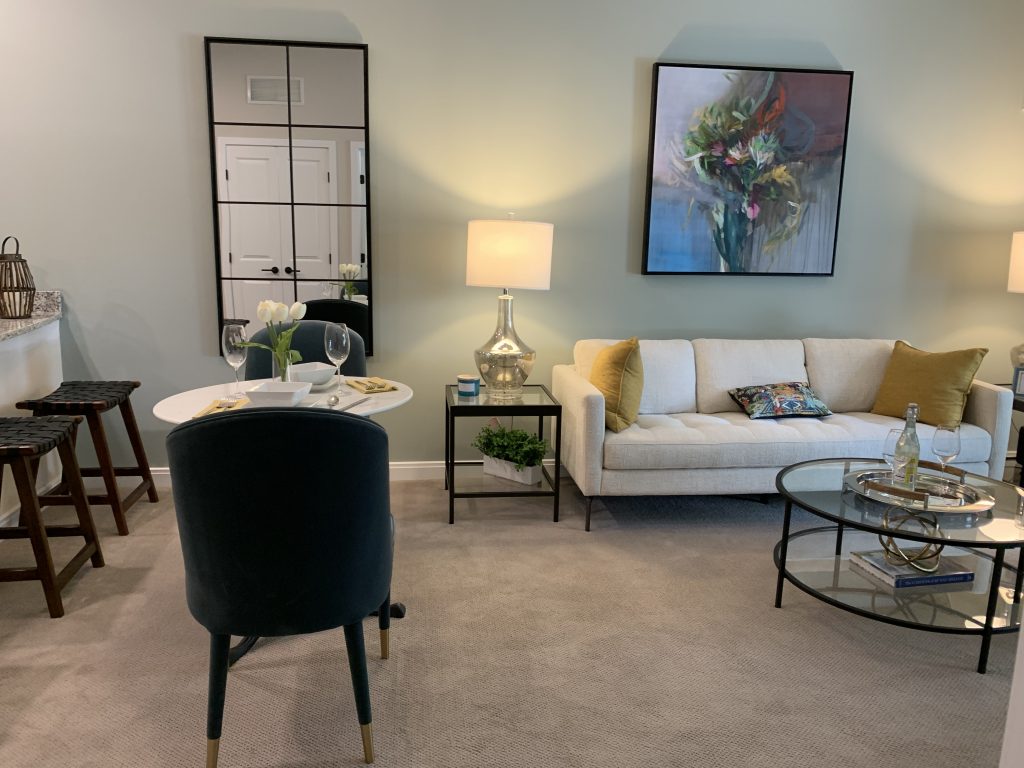
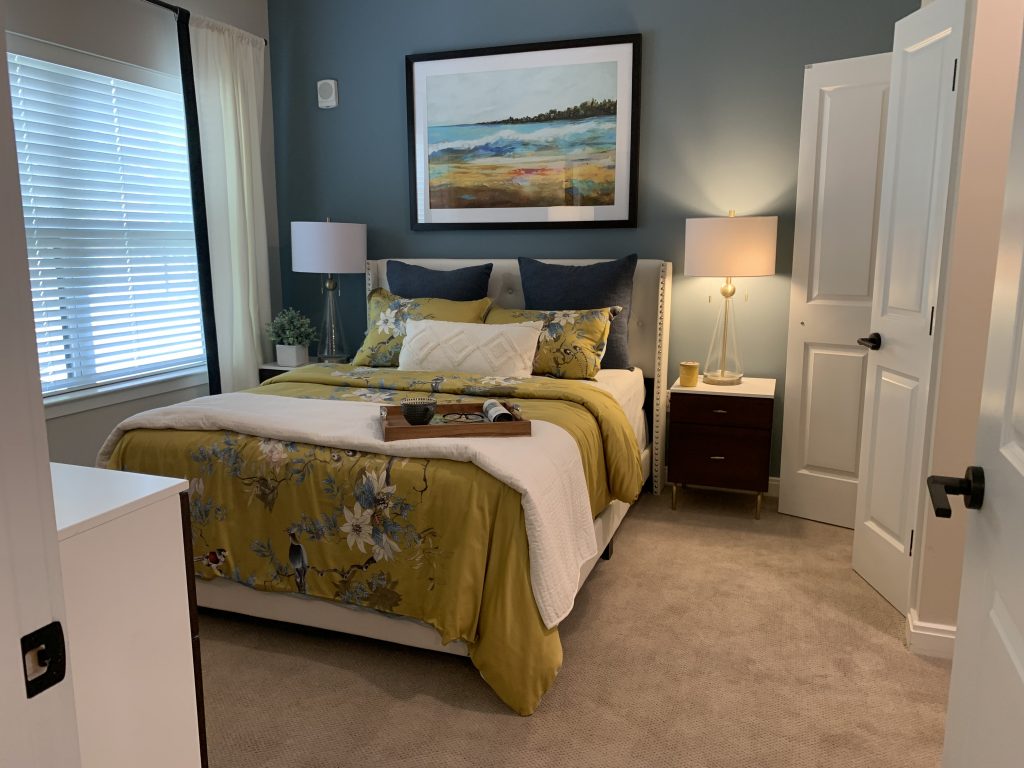
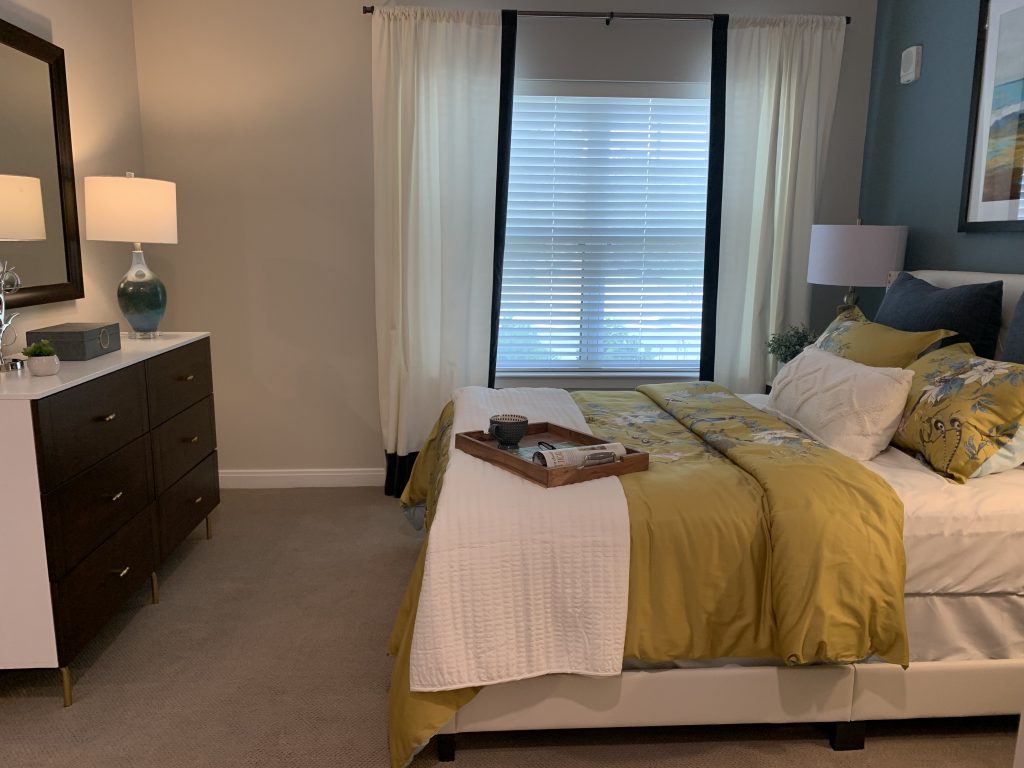
This past summer, I was hired to design a senior citizen apartment. She was moving from her current home into a new senior development and wanted a “WOW Factor!”. Her words, not mine.

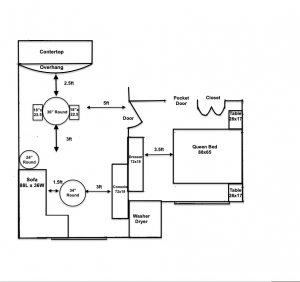
I met with my client and her daughter and went to work. First, I went and measured the space and took pictures. Then I made a floor plan. This is important because it allows me to see what items are going where and, most importantly, the size it requires. After that, we set a date and went shopping. Sometimes my client does come with me when I shop.

Here is the floor plan. I estimated what size would work. This way, when I shop for the item, I know the size of the item. We were shopping for a living room, dining room,  and kitchen.

We bought all the furniture at Raymour and Flannigan since she wanted fast delivery and had a budget she needed to work with. So we did the complete shopping all in one day.


Safe to say she definitely got the “wow” factor!


Living Room Remodel in Malverne

January 19, 2023

This living room was a design remodel I did for a client. I’ve known Lisa for a few years now and have done just about every room in her house.

It was beautiful in its glory day but sadly, not so much now. The sofa was worn out, and the area rug and coffee table were dated.

It was time to update. Lisa wanted a more contemporary look with some traditional elements. I also wanted to add some rustic features to the design.
It turned out beautifully, and the client was pleased with the results!

We had already removed the drapery which was very heavy.


It had an unusual Juliet balcony.

The accent chair had seen better days as did the ottoman!

What a difference! Light, bright and airy. With contemporary touches as well as rustic and traditional elements.

Living Room Design

January 5, 2023
I recently did a living design for a client. She hadn’t purchased any furniture in a few years, and it showed. When I walked into the space, I noticed that the sofa’s back was exposed; that was the first thing I saw.

I knew I had to change the layout of that space. She had a piano that she didn’t use, so with some convincing on my part; she gave it away. This allows me to extend the space further. I intended to put the TV  where the piano used to be, opening up the room. 

We decided on a color theme that she liked, navy and taupe, and off to shopping, we went.

This area is where the piano used to be; now the TV and the fireplace console reside. It ties the two spaces together, creating a much larger living space.

We also touched upon the dining room. I’ve seen this happen quite enough. Once the space is complete, my client winds up doing more because the area adjacent to it usually needs to be updated as well. We kept the table and replaced the chairs and credence. 

Decorating for the Holidays

December 8, 2022
Decorating for the holidays is fun but can also be stressful. So I’m here to give you some pointers on how to decorate for the holiday.

The first thing you want to do is decide on a color theme. The color theme doesn’t have to be green and red. I chose Turquoise, White, Pink, and Chartreuse Green. It coordinates nicely with my color theme for the home.

I tell my clients to make it look like it was done by a professional, create vignettes, and not line it up. My famous saying is don’t decorate like, “Ducks in a Row.” Vignettes create a better design.

I start by layering it and keep building it. It creates depth.
Add some whimsical elements. My tree topper is not your standard topper. Instead, it reminds me of Dr. Seus, Whoville.
Even your wrapping paper should match your color theme.

Here is an excellent example of vignettes. I also use a lot of pine cones and flowers to fill in the gaps.